Save
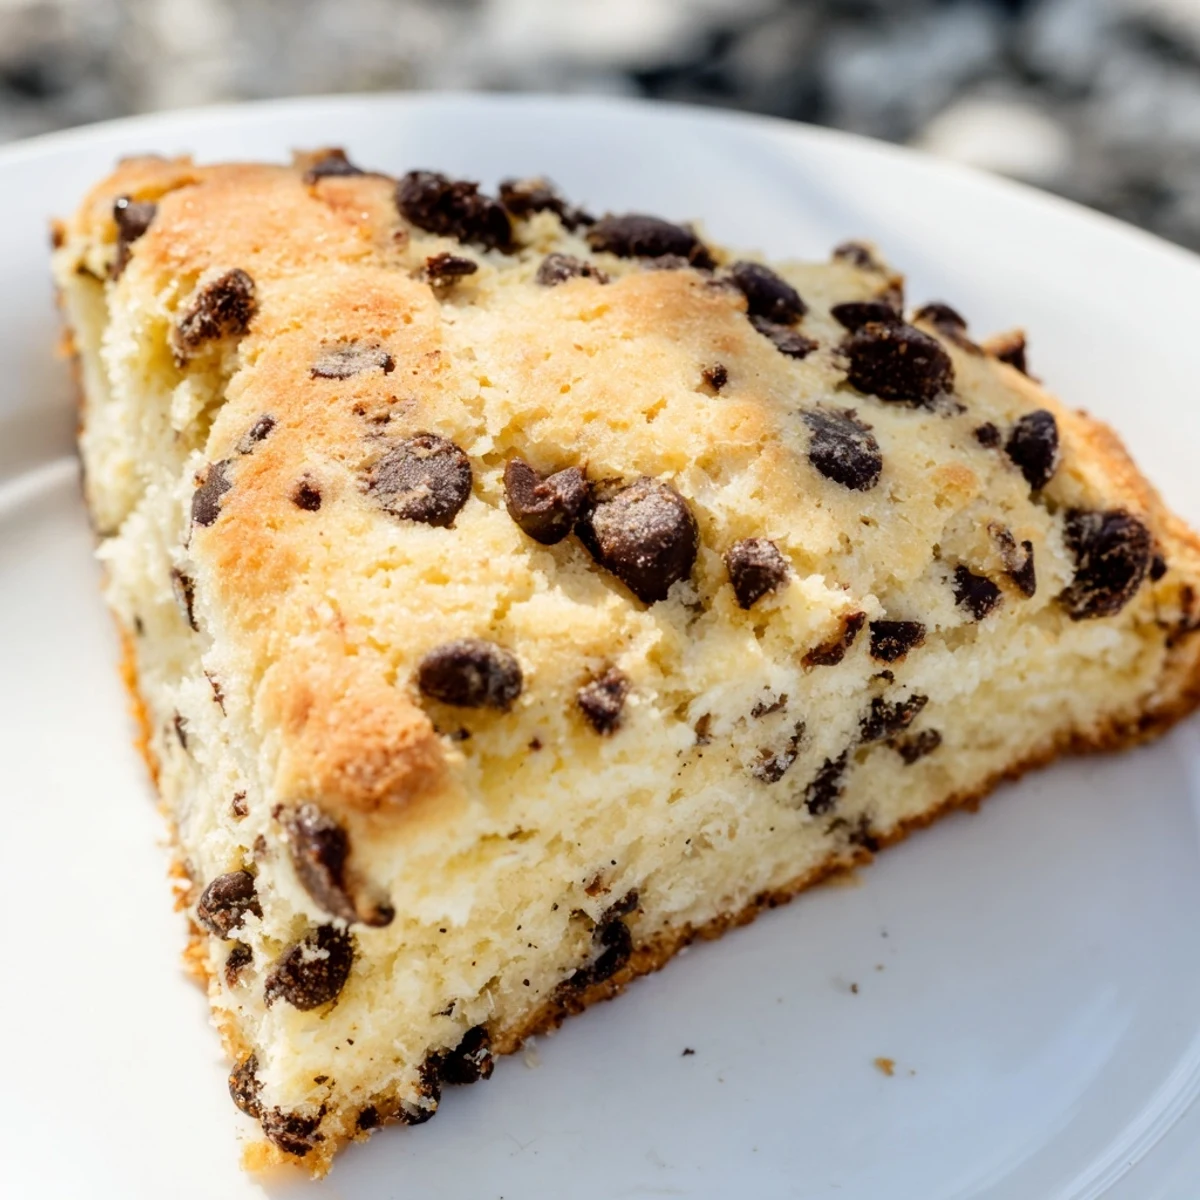
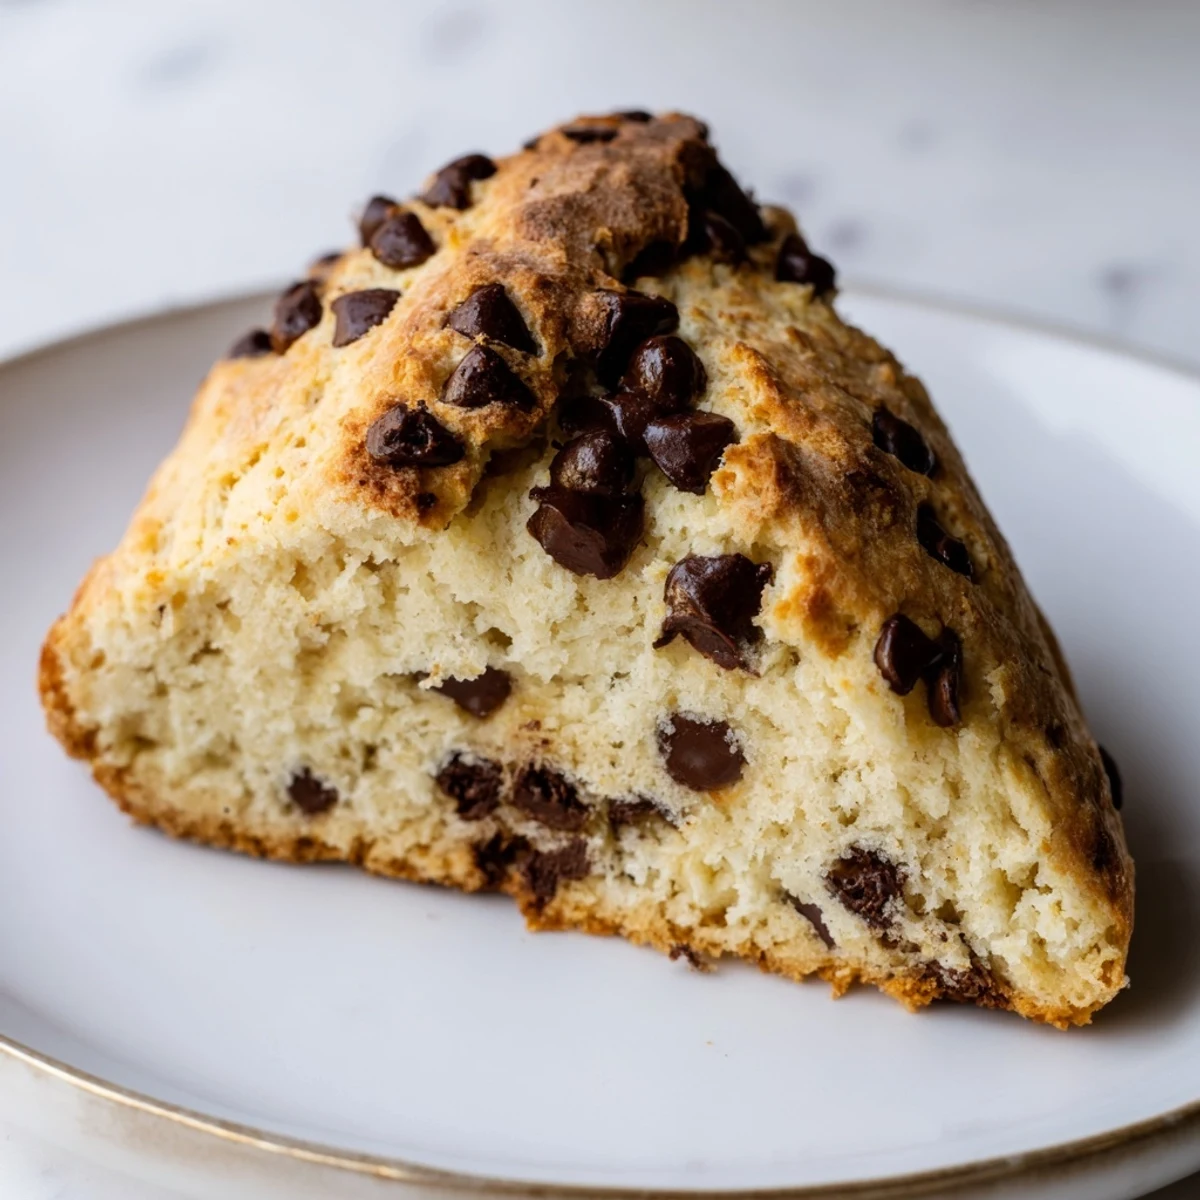
Save These tender, buttery scones are studded with rich semisweet chocolate chips, delivering a perfect balance of sweetness and texture. The dough combines all-purpose flour, sugar, baking powder, and a touch of salt with cold butter for a flaky finish. Lightly mixed wet ingredients include cream, egg, and vanilla extract. After gently folding in chocolate chips, the dough is shaped into wedges, brushed with cream for shine, and baked until golden. Ideal for breakfast, brunch, or an afternoon treat, they offer comforting flavors with simple techniques.
The smell of butter and chocolate drifting from my oven at 7 a.m. on a Saturday has become my unofficial alarm clock for the people I love most. I started making these scones during a phase when I believed, foolishly, that I could become a morning person through sheer force of will and baked goods. The morning person thing never quite stuck, but these scones did.
I once brought a batch to a friend recovering from surgery, and she texted me three days later asking if I had any left. I did not. She had eaten them all, one crumbled piece at a time, standing at her kitchen counter in pajamas at odd hours. That is exactly how these scones are meant to be eaten.
Ingredients
- All-purpose flour: The foundation that gives these scones their tender crumb without being too delicate to handle
- Granulated sugar: Just enough sweetness to let the chocolate shine without turning breakfast into dessert
- Baking powder and baking soda: The leavening duo that creates that satisfying rise and golden dome
- Fine sea salt: Wakes up every other flavor and keeps the sweetness in check
- Unsalted butter, cold and cubed: The non-negotiable secret to flaky layers that shatter slightly when you bite
- Heavy cream: Creates richness you cannot fake with milk, plus extra for that professional bakery sheen
- Large egg: Binds everything together and adds structure to the tender crumb
- Pure vanilla extract: That warm background note that makes people pause and ask what the secret ingredient is
- Semisweet chocolate chips: The pockets of melted chocolate that make every bite feel like a small reward
Instructions
- Wake up your oven:
- Preheat to 400°F and line your baking sheet with parchment. This small act of preparation saves you from scrambling later when your hands are dusted with flour.
- Whisk the dry team:
- Combine flour, sugar, baking powder, baking soda, and salt in a large bowl. I use my biggest bowl here because it gives me room to work without sending flour onto the counter.
- Cut in the cold butter:
- Drop in your cubed butter and work it in with a pastry cutter or your fingertips until you have coarse crumbs with some pea-sized butter pieces still visible. Those visible butter bits are your insurance policy against dense scones.
- Mix the wet ingredients:
- Whisk cream, egg, and vanilla in a separate bowl until they just come together. The vanilla will swirl through the cream like a promise of good things to come.
- Bring them together:
- Pour the wet into the dry and stir gently with a fork until you see no more flour streaks. Stop immediately when you reach this point. Overmixing is the enemy of tenderness.
- Fold in the chocolate:
- Add your chocolate chips and fold them in with a few gentle turns. The dough will look shaggy and imperfect. This is exactly right.
- Shape with confidence:
- Turn onto a lightly floured surface, knead two or three times just to gather it together, then pat into a seven-inch circle about an inch thick. Do not roll. Your hands are the right tool here.
- Cut and space:
- Cut into eight wedges and arrange on your baking sheet with room between each one. They need space to rise and brown properly.
- Brush for beauty:
- Dab a little extra cream on top of each scone. This simple step transforms them from homemade to bakery-worthy.
- Bake until golden:
- Sixteen to eighteen minutes until the tops are deeply golden and your kitchen smells like somewhere you want to stay forever. Let them cool just enough that you do not burn your tongue.
 Save
Save My niece once helped me make these when she was six, and she insisted on arranging the chocolate chips into a smiley face on top of one scone. That scone rose unevenly and looked ridiculous and was absolutely perfect. She ate it standing on a step stool, powdered sugar on her nose, declaring it the best one.
Make Them Your Own
A pinch of cinnamon whisked into the dry ingredients will make your kitchen smell like a holiday morning regardless of the actual date. Orange zest adds a brightness that cuts through the richness in a way that feels sophisticated without being fussy.
The Chocolate Question
I have made these with dark chocolate when I wanted something less sweet, with milk chocolate when I was feeding children, and once with chopped bittersweet bars when I ran out of chips. The scones were excellent every single time because the structure of the recipe is solid enough to handle your preferences.
Storing and Reheating
These scones argue against the concept of leftovers, but if you find yourself with extras, an airtight container keeps them respectable for two days. A quick warm-up in the oven revives them almost to fresh-baked glory.
- Never microwave a scone unless you enjoy the texture of damp bread
- Freeze unbaked wedges on a sheet pan, then bag them for fresh scones anytime
- A little extra cream brushed on before reheating works small miracles
 Save
Save However you eat them, standing at the counter in pajamas or arranged on your best plate for guests, these scones carry the warmth of something made with intention. That is the part that matters most.
Recipe FAQs
- → What type of flour is best for these scones?
-
All-purpose flour provides the right balance of structure and tenderness for these scones.
- → Can I substitute the semisweet chocolate chips?
-
Yes, dark or milk chocolate chips can be used depending on your taste preference.
- → How do I achieve flaky scones?
-
Use cold butter and work it into the dry ingredients until coarse crumbs form. Avoid overmixing once wet ingredients are added.
- → What is the purpose of brushing cream before baking?
-
Brushing cream on top adds a golden shine and helps create a tender crust.
- → Can I add flavors to the dough?
-
Yes, adding cinnamon or orange zest enhances the dough with warm, aromatic notes.
- → How long do these scones stay fresh?
-
Store in an airtight container and enjoy within two days for best freshness.