 Save
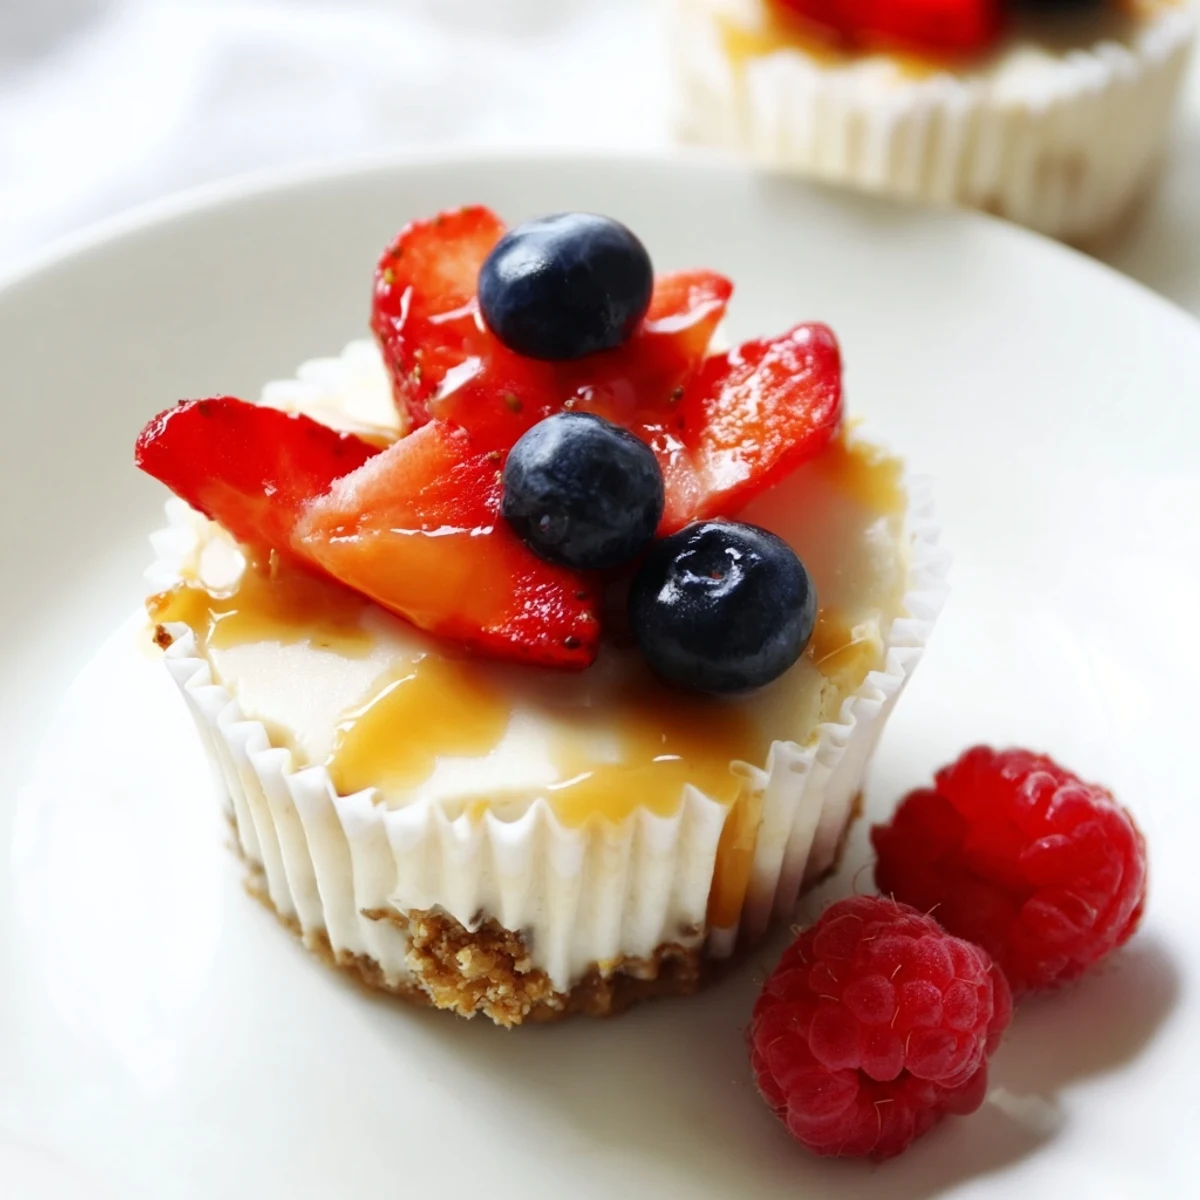
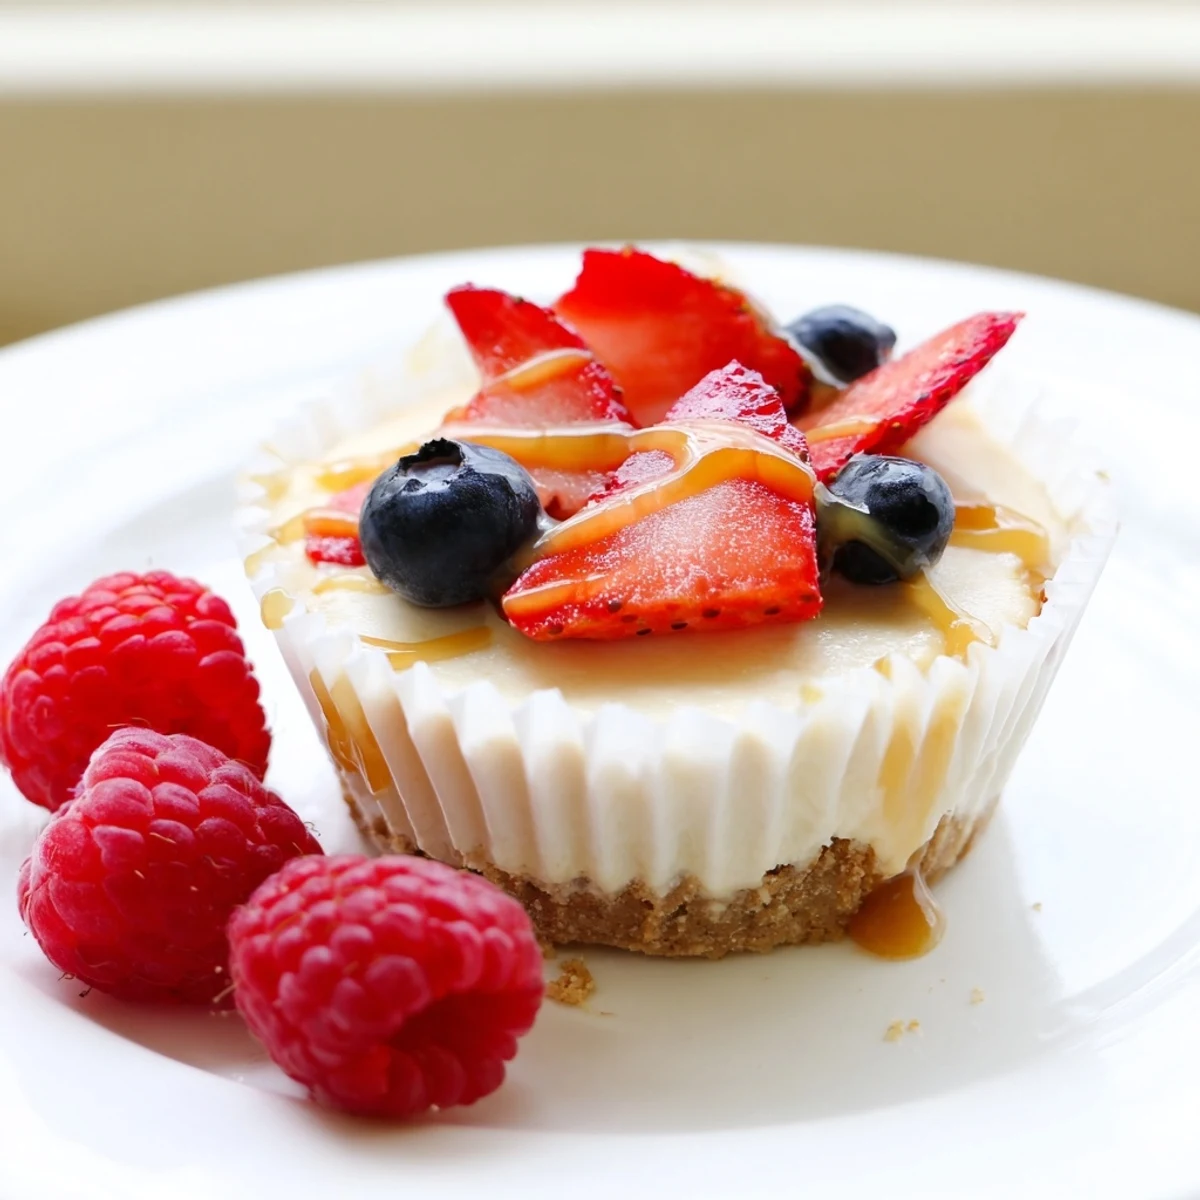
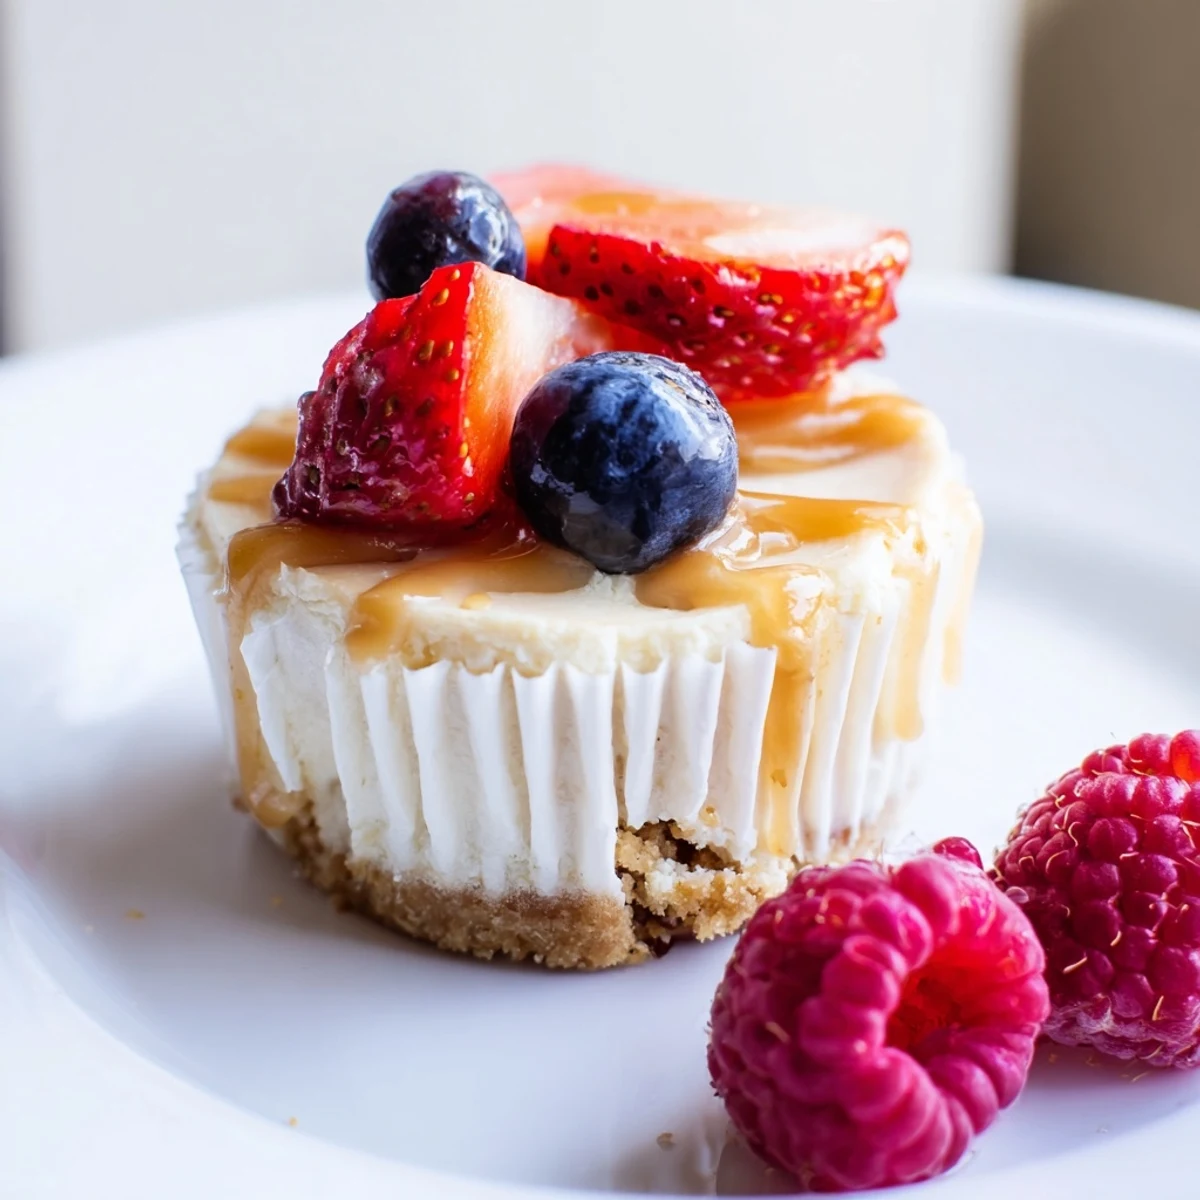
Save These mini cheesecakes feature a buttery graham cracker crust topped with a rich, creamy filling made from cream cheese, sour cream, and vanilla. Baked in a standard muffin tin, each one is perfectly portioned for individual servings.
What makes them truly special is the endless topping possibilities — from fresh berries and lemon curd to melted chocolate and caramel sauce. They're ideal for parties, potlucks, or any gathering where you want a dessert that's easy to serve and even easier to customize.
With just 20 minutes of prep and 20 minutes in the oven, the hardest part is waiting for them to chill. They also freeze beautifully, so you can make them ahead and add toppings just before serving.
The summer my neighbor brought over a flat of strawberries she could not use, I stood in my kitchen wondering what to do with all of them, and somehow mini cheesecakes became the answer to everything that afternoon.
I set up a toppings station on my kitchen counter that day and watched friends build their own creations, laughing over who claimed the caramel drizzle first.
Ingredients
- Graham cracker crumbs (120 g or 1 cup): The foundation of a good crust, and honestly crushing the crackers yourself gives better texture than store bought crumbs.
- Unsalted butter, melted (50 g or 1/4 cup): Binds the crust together, and using unsalted lets you control the flavor.
- Sugar (2 tbsp for crust, 100 g or 1/2 cup for filling): You need it in both layers, so measure separately before you start mixing.
- Cream cheese, softened (340 g or 12 oz): The star of the filling, and it really must be softened or you will fight lumps the entire time.
- Large egg (1): Gives the filling its set, and adding it at room temperature helps everything blend smoothly.
- Vanilla extract (1 tsp): A small amount that does heavy lifting in the flavor department.
- Sour cream (120 ml or 1/2 cup): This is the secret to that tangy, creamy texture that makes people close their eyes on the first bite.
- Toppings of your choice: Fresh berries, lemon curd, melted chocolate, caramel sauce, chopped nuts, crushed cookies, or fruit preserves all work beautifully.
Instructions
- Prep your oven and pan:
- Heat the oven to 160 degrees Celsius (325 degrees Fahrenheit) and line a 12 cup muffin tin with paper liners, pressing each one flat against the sides.
- Build the crust:
- Stir the graham crumbs, melted butter, and sugar together until the mixture feels like damp sand, then press about a tablespoon firmly into each liner.
- Whip the filling:
- Beat the cream cheese and sugar until completely smooth with no streaks, scraping the bowl once or twice so nothing hides at the bottom.
- Add the wet ingredients:
- Pour in the egg and vanilla, mixing just until combined, then gently fold in the sour cream with a spatula to keep the filling light.
- Fill and smooth:
- Spoon the batter evenly over each crust, filling nearly to the top, and tap the pan gently on the counter to release any trapped air bubbles.
- Bake until set:
- Bake for 18 to 20 minutes until the edges look firm but the centers still have a slight wobble when you shake the pan.
- Cool and chill:
- Let them rest in the pan for 15 minutes, move to a wire rack until completely cool, then refrigerate for at least one hour before topping.
- Top and serve:
- Arrange your toppings however you like and watch them disappear within minutes at any gathering.
 Save
Save After that first batch, these little cheesecakes became my go to for potlucks, birthdays, and even a quiet Tuesday when I needed something sweet without committing to a whole cake.
Mixing Up Your Crust Options
Chocolate sandwich cookies, gingersnaps, or even digestive biscuits change the entire personality of these mini cheesecakes with zero extra effort.
Making Them Ahead
You can bake these up to three days before serving and keep them covered in the fridge, or freeze them without toppings for up to a month.
Serving and Pairing Suggestions
A cup of strong coffee or a glass of chilled dessert wine turns these into something that feels genuinely special.
- Swirl fruit puree into the batter before baking for a marbled look.
- Always add toppings right before serving so the crust stays crisp.
- Let frozen cheesecakes thaw in the fridge overnight for the best texture.
 Save
Save These little cheesecakes are proof that the best desserts do not need to be complicated, just made with care and shared with people who appreciate a good thing.
Recipe FAQs
- → Can I make mini cheesecakes ahead of time?
-
Yes, mini cheesecakes are an excellent make-ahead dessert. Once baked and cooled, store them in an airtight container in the refrigerator for up to 4 days. You can also freeze them without toppings for up to 2 months — just thaw overnight in the fridge and add your favorite toppings before serving.
- → Why are my mini cheesecakes cracking on top?
-
Cracking usually happens when the oven temperature is too high or the cheesecakes are overbaked. Keep your oven at 160°C (325°F) and remove them when the centers are set but still slightly jiggly. The residual heat will finish cooking them as they cool. Avoid opening the oven door frequently during baking.
- → What can I use instead of graham crackers for the crust?
-
You can swap graham crackers for crushed Oreos, digestive biscuits, ginger snaps, or vanilla wafers. For a gluten-free option, use gluten-free cookies or ground almonds mixed with melted butter and a little sugar. Each base brings its own flavor profile to the finished cheesecake.
- → Do I need to use an electric mixer for the filling?
-
An electric mixer makes the process easier and ensures a smoother, creamier filling without lumps. However, you can use a whisk and some elbow grease if your cream cheese is fully softened to room temperature. The key is beating the cream cheese until completely smooth before adding the other ingredients.
- → How do I get clean, even layers in my mini cheesecakes?
-
Use the back of a spoon or a small spatula to press the crust firmly and evenly into each muffin cup. For the filling, spoon it in gently and smooth the tops with a damp spatula. Filling each cup to the same level ensures even baking and a uniform presentation.
- → Can I add fruit directly into the batter before baking?
-
Absolutely. Drop a small spoonful of fruit puree, jam, or lemon curd onto the filled cups and swirl it with a toothpick for a beautiful marbled effect. Avoid adding large chunks of fresh fruit before baking, as they release moisture and can make the filling watery.