 Save
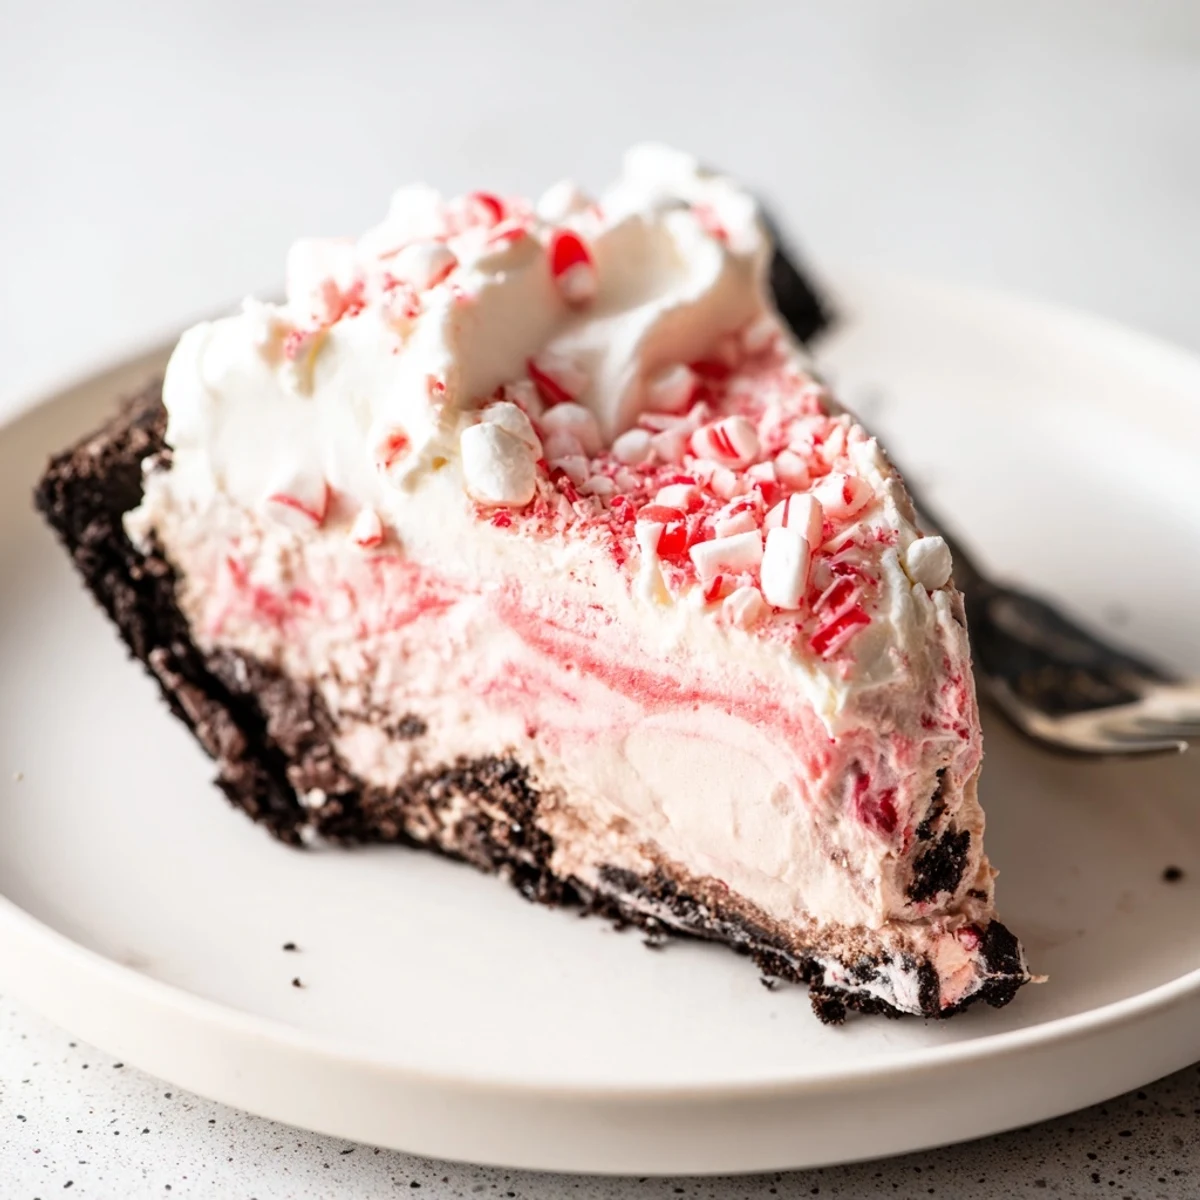
Save Make a chocolate cookie crust, press and chill. Whip cold heavy cream to stiff peaks. Beat softened cream cheese with powdered sugar, vanilla, and peppermint, then fold in whipped cream, mini marshmallows, and crushed candy canes. Spoon into the chilled crust, smooth, and refrigerate at least 4 hours to set. Top with whipped cream and extra candy canes just before serving; adjust peppermint to taste and use gluten-free cookies if needed.
The sound of candy canes tapping against the countertop always takes me right into the holiday groove, but this pie started as an answer to my need for something a little more playful than the usual cookies. One chilly December afternoon, the kitchen was filled with laughter and the faint crackle of holiday music as I reached for every peppermint treat in the pantry. There’s a joy in seeing marshmallows tumble into cream cheese, knowing they’ll emerge as a sliceable cloud. Making this pie quickly became less about perfection and more about leaning into the fun—crushed candy canes trailing from apron pockets included.
One year, I made this pie for a neighborhood potluck, only to have the kids sneak into the kitchen to steal extra candy canes for topping. It became our annual signal that dessert had landed if you heard crunching from the pie dish before you even called anyone to the table. Sometimes I’d find pink smears of filling on little fingers, proof that the holiday spirit was alive long before the first slice was served. Building it together just felt right—one for the pie, one for snacking, laughter echoing long after the plates were cleared.
Ingredients
- Chocolate cookie crumbs: Crush them finely so the crust holds together—using a rolling pin in a resealable bag works better than a food processor for anyone needing a little stress relief.
- Unsalted butter: Melt it fully but let it cool for a minute so your crust doesn’t go soggy.
- Heavy whipping cream: Make sure it’s as cold as a north wind—whipping is so much easier and yields billowy peaks that hold their shape.
- Cream cheese: Let it soften at room temperature; cold cream cheese creates lumpy filling and nobody wants that surprise.
- Powdered sugar: Sift it in to avoid any sneaky clumps—smoothness is the goal.
- Vanilla extract: Adds a deeper flavor so the peppermint doesn’t steal the whole show.
- Peppermint extract: Just a touch and taste as you go—too much turns the pie into toothpaste territory.
- Mini marshmallows: They give the filling that airy, bouncy texture that feels festive and fun.
- Crushed candy canes: Fold them in gently; I learned to keep a little aside for topping because someone will always ask for more crunch.
- Red food coloring (optional): Swirl a bit in for that perfect peppermint pink hue—a couple drops goes further than you’d expect.
- Whipped cream (for topping): Pile it high or use a piping bag if you’re feeling fancy—either way, more is more.
- Extra candy canes or peppermint candies: The final flurry for crunch and sparkle—put the kids in charge here and watch what happens.
Instructions
- Build the Base:
- Mix chocolate cookie crumbs with melted butter in a bowl, and press them firmly into your pie dish until even. Chill while you prepare the filling, so the crust can set and get crisp.
- Whip the Cream:
- Pour cold heavy whipping cream into a large bowl and whip until stiff peaks form—you’ll know it’s ready when you can turn the whisk upside down and the cream stands tall.
- Prepare the Cream Cheese Layer:
- In another bowl, beat softened cream cheese, powdered sugar, vanilla, and peppermint extract until satiny and smooth.
- Fold and Tint:
- Gently fold the whipped cream into the cream cheese mixture along with mini marshmallows and crushed candy canes. Swirl in the food coloring if you’d like a festive streak—use a spatula and don’t overmix to keep it light.
- Fill and Set:
- Spoon the filling into the prepared crust, smoothing out the top with a spatula. Cover and chill in the refrigerator for at least four hours so it’s sliceable and blissfully cool.
- Decorate Before Serving:
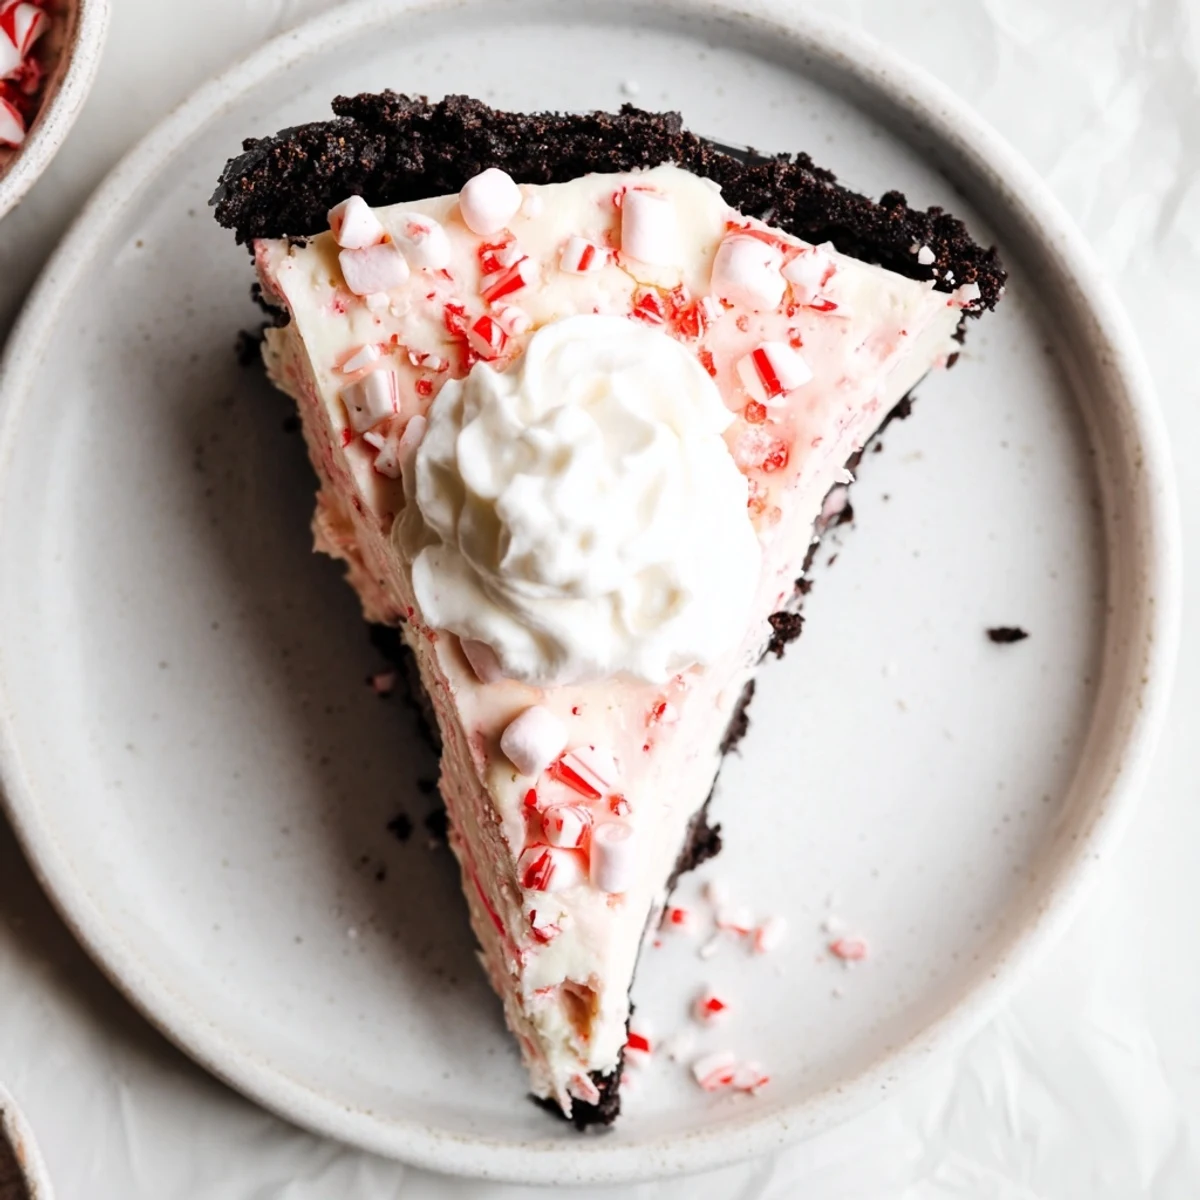
- Dollop (or pipe) whipped cream across the top and sprinkle with extra crushed candy canes just before slicing—stand back and admire your frosty masterpiece.
 Save
Save The first time my partner tried this pie, he scooped up a forkful before I finished the whipped cream border. His surprise at the mix of marshmallowy fluff and zingy mint was priceless, and his request for seconds was the highest compliment I could hope for. That moment officially turned Candy Cane Pie into a holiday repeat by special request.
Swapping and Adjustments for Every Occasion
Don’t be afraid to swap in gluten-free cookies if needed—the festive spirit of this pie doesn’t care what brand you use. I’ve also tried chocolate mint cookies and even golden Oreos for a playful twist; both worked beautifully. If little hands want to help, let them crush the candy canes (with supervision, of course) for maximum giggles.
Beating the Winter Blues with Sweets
Some desserts feel like a chore after a long day, but this pie almost makes the chill worth it. There’s something about crushing cookies and folding candy pieces into clouds of cream that makes gray afternoons brighter. The best part? You can make it ahead and enjoy your company without fussing over dessert at the last minute.
Finishing Touches That Make it Shine
The right toppings can take your pie from simple to showstopper; I like to add a little edible glitter for sparkle on New Year’s Eve. For an adult twist, a splash of peppermint schnapps in the filling is a decadent secret. Have fun and make it yours with colored sprinkles or by adding a dash of chocolate shavings.
- Always chill before cutting for picture-perfect slices.
- Let guests add their own candy bits at the table for extra fun.
- Store leftovers loosely covered so the crust stays crisp.
 Save
Save This pie isn’t just dessert—it’s an invitation to play, share, and sprinkle a little extra sweetness on every holiday table. Hope you find just as many reasons to make it your new tradition.
Recipe FAQs
- → How do I prevent a soggy crust?
-
Press the chocolate cookie crumbs firmly into the pie dish and chill the crust before adding the filling; chilling helps the butter set and creates a barrier that keeps the crust crisp.
- → Can this be prepared ahead of time?
-
Yes. Assemble the pie and refrigerate for up to 24 hours. Add the whipped cream topping and extra candy canes just before serving to keep them crunchy.
- → How strong will the peppermint flavor be?
-
Peppermint extract is potent; start with a small amount, taste the cream cheese mixture, and add more if you prefer a bolder mint note.
- → Is there a gluten-free option for the crust?
-
Substitute gluten-free chocolate sandwich cookies or gluten-free chocolate wafer crumbs for the cookie crumbs and proceed as directed to keep the same texture and flavor.
- → Can I freeze this pie?
-
Freezing can alter the texture of whipped elements and marshmallows; if needed, freeze tightly wrapped for up to one month and thaw in the refrigerator, then refresh the topping before serving.
- → How do I get a festive pink swirl?
-
Stir a few drops of red food coloring into a portion of the filling and gently swirl it into the rest before chilling for a subtle pink marbling effect.