 Save
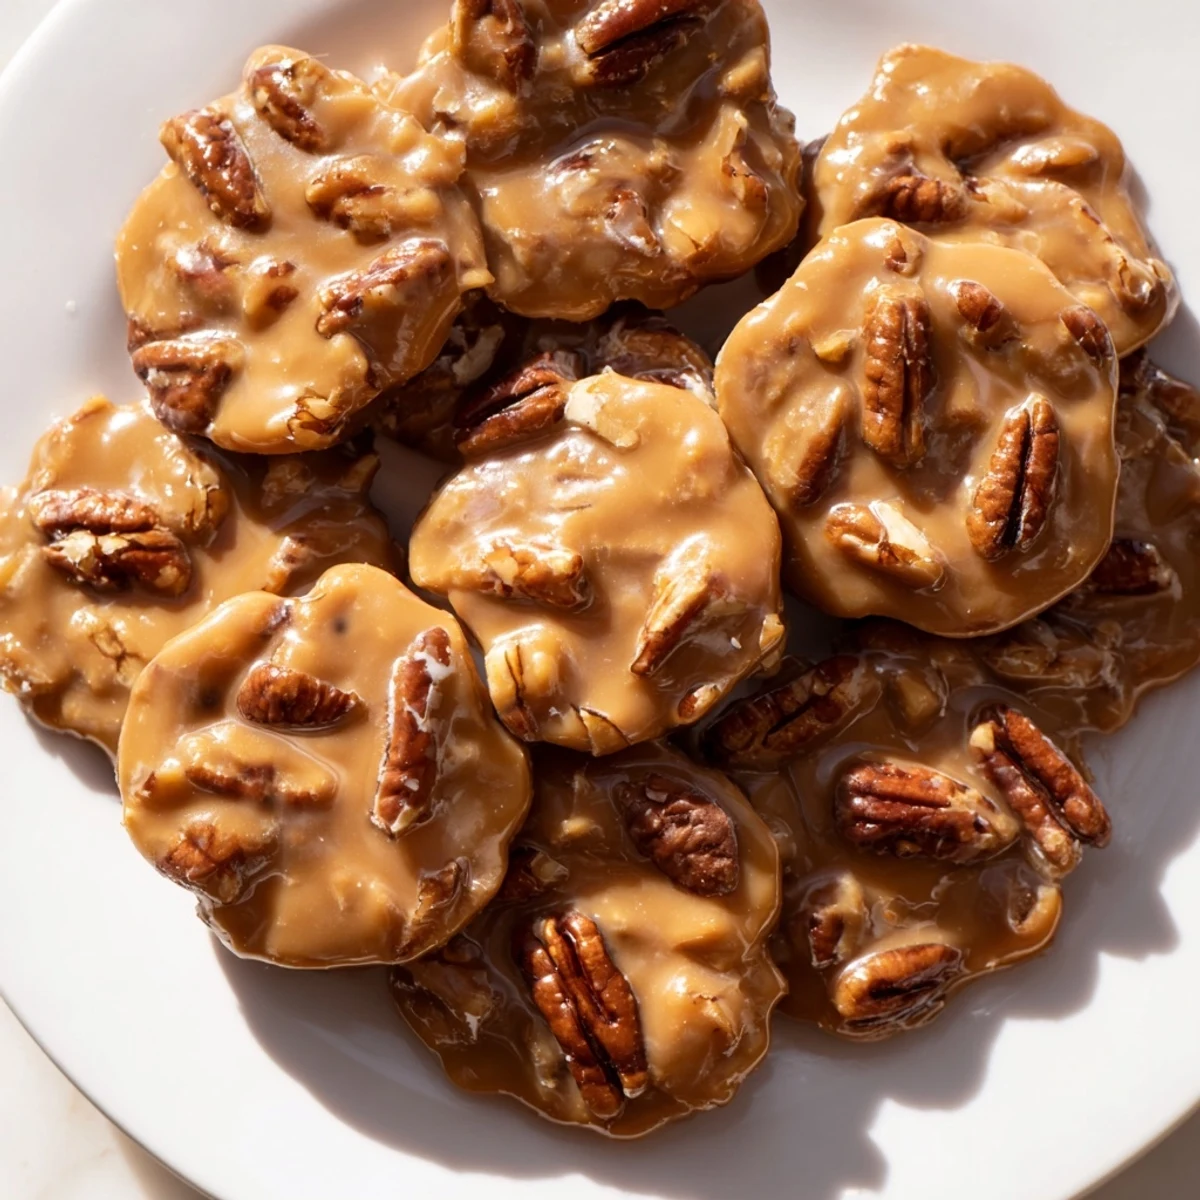
Save These Mardi Gras pecan pralines showcase a traditional Southern sweet featuring roasted pecans in a rich, creamy base. The confection is prepared by cooking sugars and dairy to a soft ball stage, then mixing in vanilla and toasted nuts before setting. The result is a luscious treat with a melt-in-the-mouth texture, balancing buttery sweetness with nutty crunch. Perfect for festive occasions or anytime a luscious, nutty indulgence is desired, this confection requires modest skill and under an hour to prepare.
The first time I attempted pralines, I watched in confusion as my sugar mixture transformed from glossy and smooth to a grainy mess in seconds. I learned the hard way that patience during the cooling stage is everything. Now these buttery pecan studded candies are my go to gift during carnival season, and they always disappear first from the dessert table.
Last year I made three batches for a Mardi Gras party and my friend Sarah kept sneaking them from the cooling tray. She swore she was just testing them for quality control but ended up taking half the container home. Now she requests them for every gathering, insisting they taste exactly like the ones she bought on a trip to Bourbon Street.
Ingredients
- Granulated sugar: Forms the crystalline structure that gives pralines their signature sandy texture
- Light brown sugar packed: Adds deep caramel notes and helps create that creamy fudge like consistency
- Unsalted butter: Provides richness and helps prevent the sugar from seizing too quickly
- Heavy cream: Essential for achieving the smooth velvety texture that makes these pralines so luxurious
- Whole milk: Lightens the mixture slightly while still contributing to the creamy mouthfeel
- Vanilla extract: Rounds out all that sugar with warm comforting notes
- Pecan halves lightly toasted: Toasting beforehand amplifies their natural buttery flavor
- Salt: Just enough to balance all the sweetness without making these taste salty
Instructions
- Prepare your workspace:
- Line two baking sheets with parchment paper or silicone mats before you start cooking. The mixture sets up fast so you cannot afford to hunt for equipment once the sugar reaches temperature.
- Combine the sugars and dairy:
- In a heavy bottomed saucepan over medium heat add granulated sugar brown sugar butter heavy cream milk and salt. Stir constantly until the butter melts completely and the sugars dissolve into a smooth mixture.
- Cook to soft ball stage:
- Attach a candy thermometer to the pan and continue cooking stirring occasionally until the mixture reaches 236°F. This takes about 8 to 10 minutes and the sugar should bubble vigorously while cooking.
- Add flavor and nuts:
- Remove the pan from heat immediately and stir in vanilla extract and toasted pecans. The mixture will bubble up slightly so be careful as you add these final ingredients.
- Work quickly to scoop:
- Stir briskly with a wooden spoon for 2 to 3 minutes until the mixture thickens and becomes creamy but remains pourable. Drop heaping tablespoons onto the prepared baking sheets spacing them apart.
- Let them set completely:
- Allow pralines to cool at room temperature for at least 20 minutes. They should be firm and set before you attempt to move or store them.
 Save
Save My daughter helped me make these last Christmas and she was fascinated watching the sugar transform through different stages. She said it was like kitchen magic and now whenever pralines appear she reminds everyone that she knows the secret to making them.
Getting The Texture Right
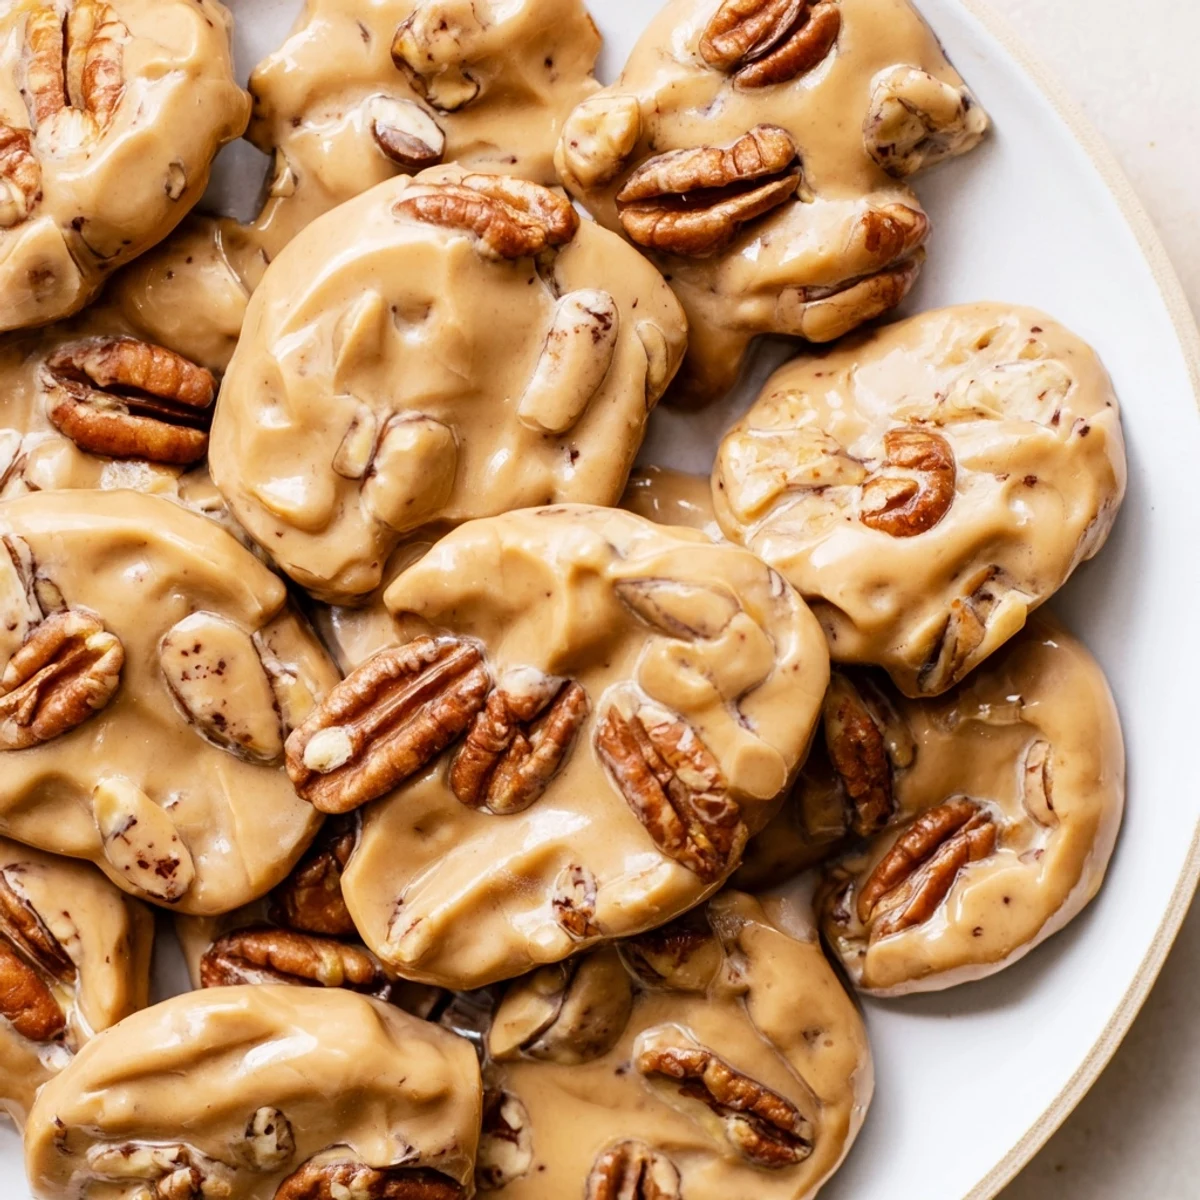
The difference between grainy disappointing pralines and the creamy ones you find in New Orleans shops comes down to that final stirring period. You want the mixture to lose its glossy shine and start looking matte and slightly thickened almost like frosting that has been sitting out for a few minutes.
Weather Considerations
Humidity affects candy making more than most people realize. On rainy or particularly humid days your pralines might take longer to set or end up slightly softer than intended. If possible choose a dry day for candy making or reduce the milk by one tablespoon to compensate.
Serving And Storage
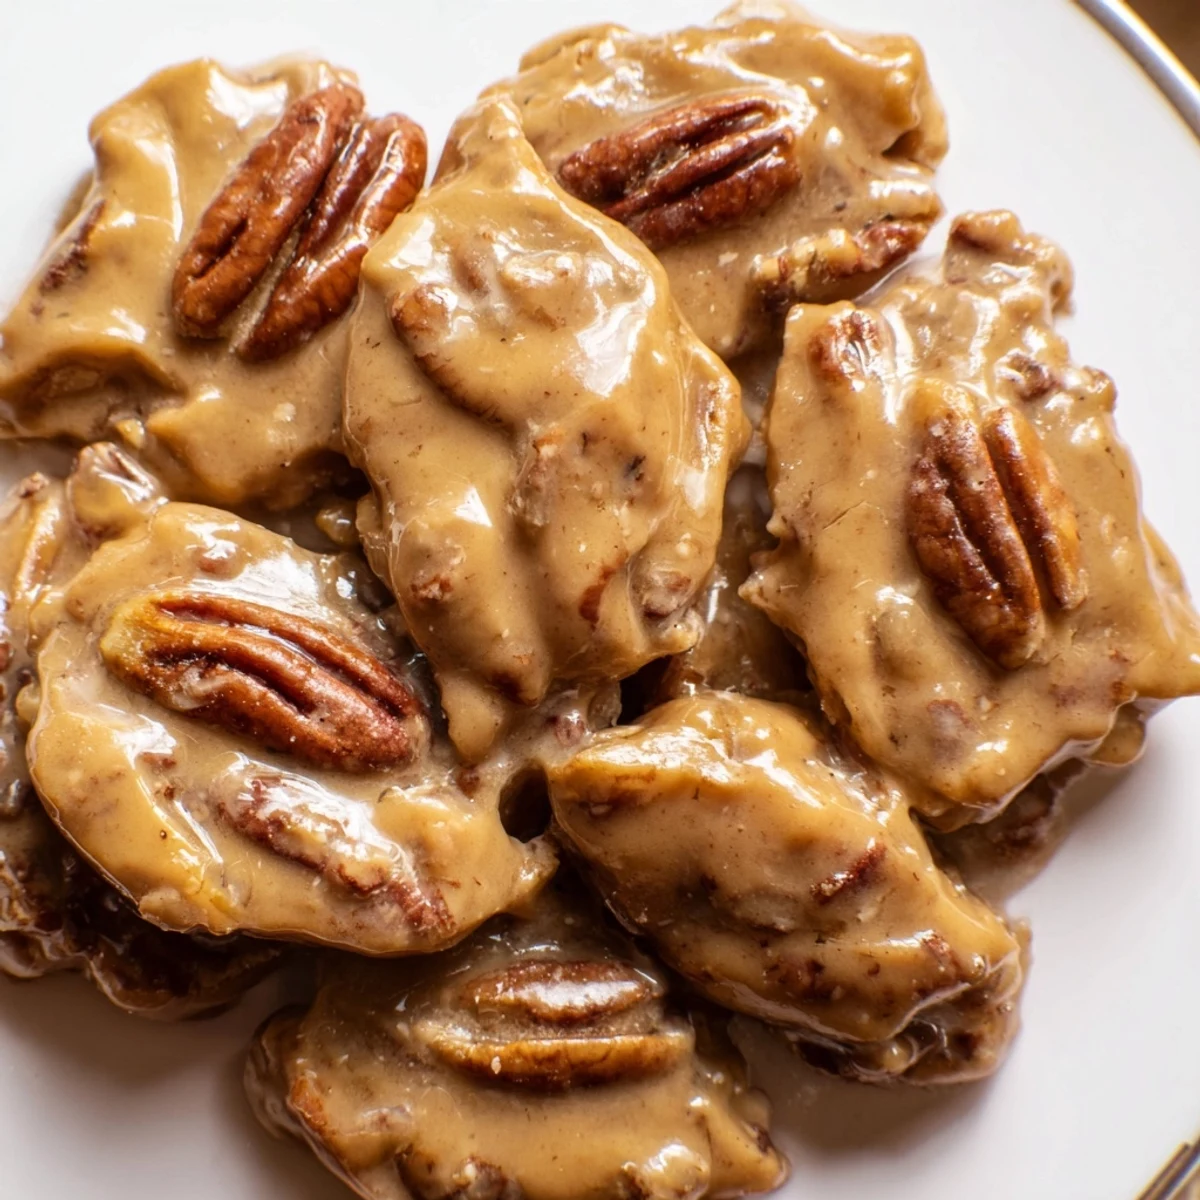
These pralines develop their best texture after sitting overnight. The sugars continue to crystallize slowly creating that perfect slightly sandy mouthfeel that Southern pralines are known for. They improve with age but rarely last long enough to prove this theory.
- Stack them between sheets of wax paper in an airtight container
- They make excellent gifts when wrapped in cellophane bags tied with purple and green ribbon
- For shipping choose colder months and pack them tightly with cushioning material
 Save
Save There is something deeply satisfying about making candy at home especially one as iconic as this. Each batch feels like a tiny celebration of Southern cooking traditions passed down through generations.
Recipe FAQs
- → What texture should the praline mixture have before dropping?
-
The mixture should be creamy but still pourable, thick enough to hold nuts evenly before cooling to a firm set.
- → Can other nuts be used instead of pecans?
-
Yes, walnuts or almonds can be substituted for pecans, offering different but complementary flavors.
- → How do I prevent pralines from hardening too quickly?
-
If the mixture stiffens before scooping, gently stir in a tablespoon of warm milk to loosen it for easier dropping.
- → What role does the candy thermometer play?
-
It ensures the sugar mixture reaches the soft ball stage (236°F), crucial for the correct praline texture.
- → How should pralines be stored for freshness?
-
Keep them in an airtight container at room temperature, consuming within one week to maintain texture and flavor.
- → Can the sugars be adjusted for deeper flavor?
-
Using dark brown sugar or adding a pinch of cinnamon enhances depth and warmth in the final treat.