 Save
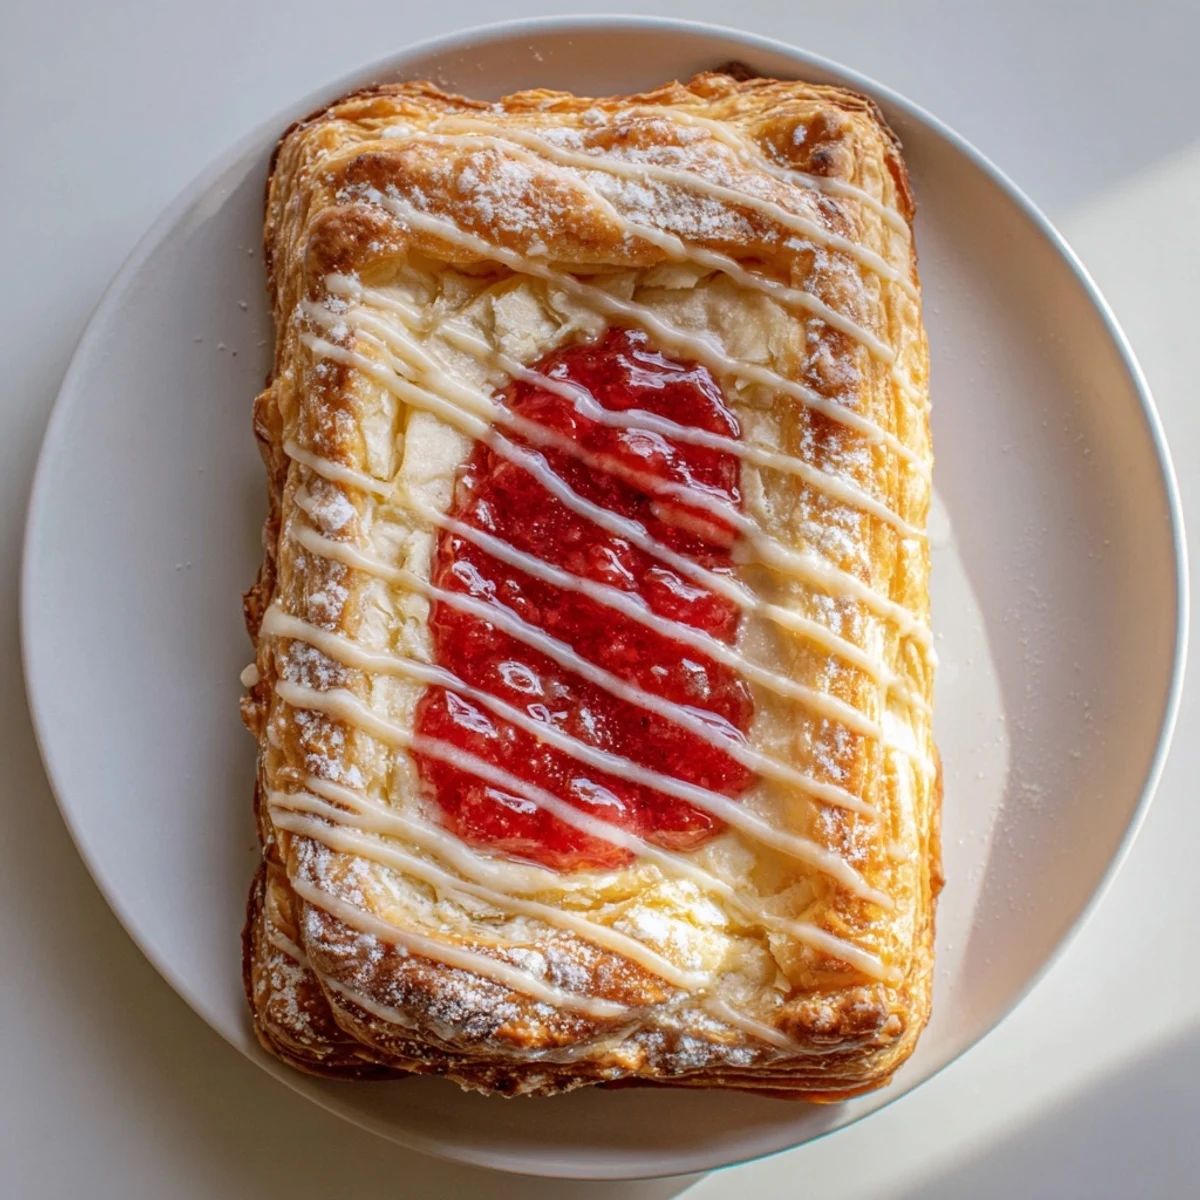
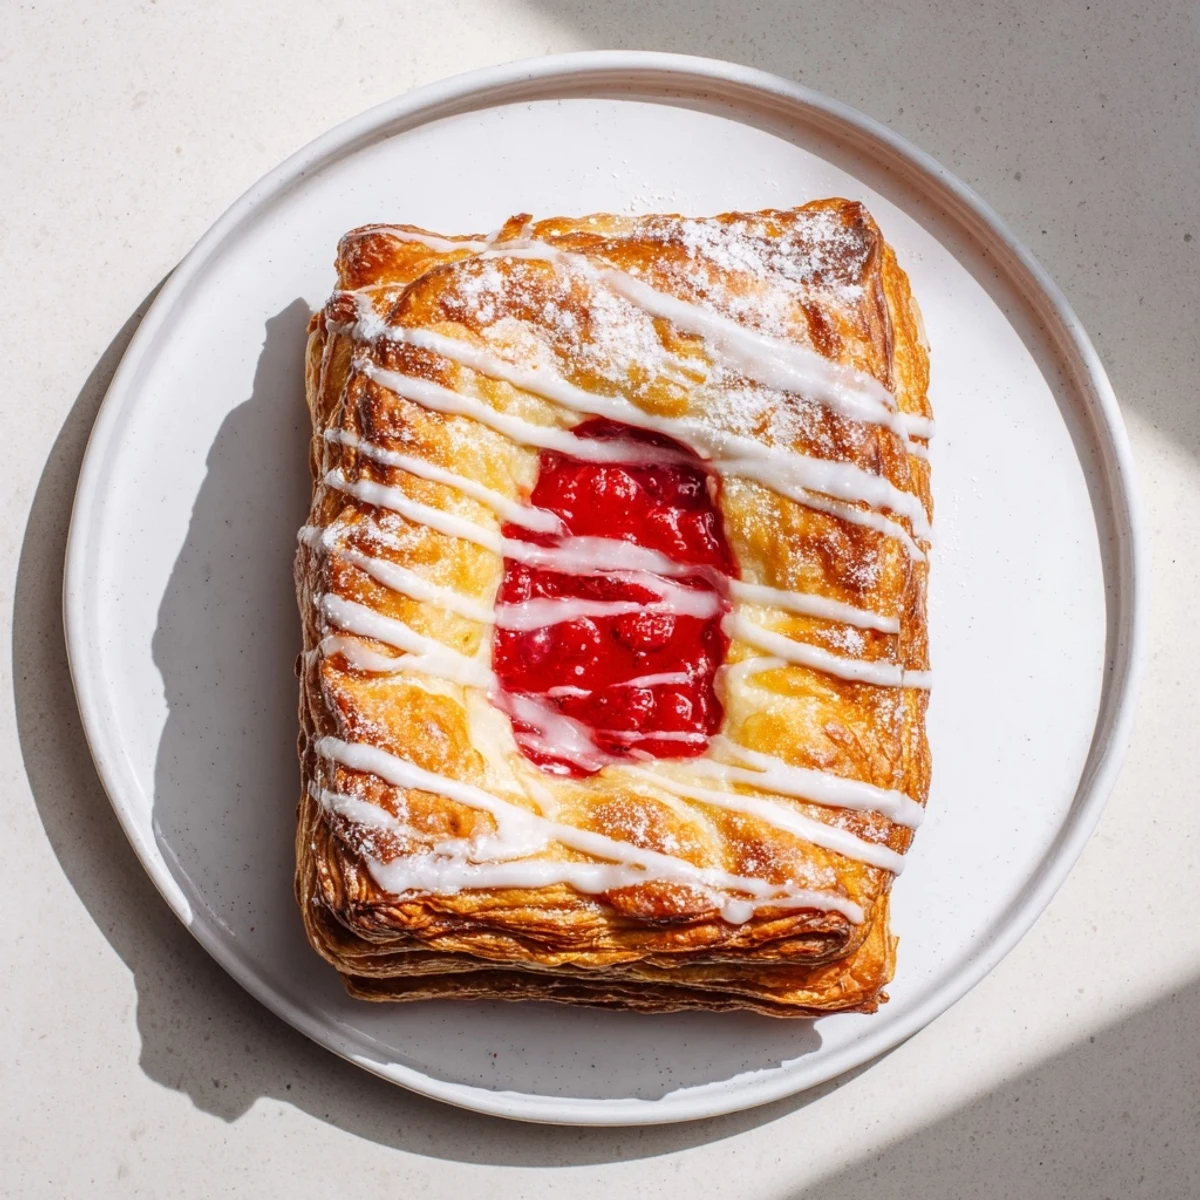
Save These buttery pastries make brilliant use of unfed sourdough starter, creating tender layers that complement the tangy cream cheese filling. The fresh raspberry compote adds brightness and natural sweetness, balancing the rich dairy elements. While the dough requires chilling time, the hands-on preparation remains straightforward.
The assembly process lets you create bakery-worthy treats at home. The final drizzle of vanilla glaze adds professional polish and extra sweetness. Serve these warm from the oven for breakfast, or pack them for portable brunch options.
The kitchen smelled like yeast and butter that morning I decided to finally use my overflowing sourdough starter. Something about transforming what would otherwise be waste into something people actually crave feels incredibly satisfying. These danishes came together on a rainy Sunday when breakfast needed to be special but I refused to make another trip to the grocery store.
My sister visited last month and devoured three of these warm from the oven, barely pausing between bites to tell me they were better than anything shes had in coffee shops. Theres something incredibly comforting about pulling golden pastries from the oven and watching people hover around the counter, waiting for that first glorious bite.
Ingredients
- Unsalted butter: Keep it ice cold because warm butter melts into flour instead of creating those flaky layers that make pastries sing
- All purpose flour: Regular flour works perfectly here, no need to hunt down specialty pastry flour for this recipe
- Sourdough discard: Use starter straight from the fridge, unfed and slightly tangy works beautifully in this dough
- Granulated sugar: Just enough to balance the tang from the sourdough without making these overly sweet
- Salt: Essential because without it the butter and cream cheese flavors fall completely flat
- Large egg: Beat it well before brushing so you get that gorgeous golden sheen on the baked edges
- Cream cheese: Let it soften completely on the counter or you will fight lumps in your filling forever
- Vanilla extract: Pure vanilla makes such a difference in the cream cheese layer, worth every penny
- Lemon juice: Brightens the entire filling and cuts through all that rich cheese and butter
- Raspberries: Frozen berries work but fresh ones burst beautifully in the oven and look stunning against the white cheese
- Cornstarch: This thickens the raspberry juices so they do not soak into your pastry and make it soggy
- Powdered sugar: Sift it first or your glaze will have tiny lumps that look unprofessional
- Milk or cream: Add it slowly because you can always thin the glaze but you cannot un thin it
Instructions
- Work the butter into the flour:
- Cut that cold butter into the flour with a pastry blender or your fingers until the largest pieces are pea sized, those butter pockets create flaky layers
- Bring the dough together:
- Mix in your sourdough discard and other ingredients just until the dough holds together, overworking makes tough pastries
- Chill the dough:
- Wrap it tight and let it rest in the fridge for at least an hour, this relaxes the gluten and firms up the butter
- Whip up the cream cheese filling:
- Beat that softened cream cheese until it is completely smooth before adding anything else, no one wants lumpy filling
- Cook down the raspberries:
- Let the berry mixture bubble away until it coats the back of a spoon and tastes like concentrated summer
- Roll and cut the dough:
- Flour your counter well and roll to about a quarter inch thick, cut whatever shapes make you happy, rectangles or circles both work
- Create the pastry wells:
- Press down the centers with your fingers to make room for the filling while keeping the edges tall for that pretty bakery look
- Layer the fillings:
- Spoon the cheese into each indentation first then top with berries, going light on the fruit keeps everything from overflowing in the oven
- Let them rest before baking:
- Give the pastries about thirty minutes on the counter to take the chill off, this helps them puff instead of stay flat
- Brush and bake:
- Light egg wash just on the edges transforms them from homemade looking to professionally golden in the oven
- Finish with glaze:
- Wait until they are completely cool or your glaze will slide right off onto the parchment paper
 Save
Save Last Christmas morning I made double this recipe and my family stood around the kitchen island eating them straight from the cooling rack. Someone mentioned these should become a new holiday tradition and honestly, I cannot imagine a better one than flaky sourdough pastries filled with tart berries.
Making These Ahead
You can assemble everything the night before and keep the tray covered in the refrigerator. In the morning let them sit on the counter while the oven preheats, they will puff up beautifully from the short rest at room temperature.
Fruit Variations
Blueberries work wonderfully here and need less sugar because they are naturally sweeter than raspberries. Strawberries should be chopped small or they release too much juice and make the pastry soggy in places.
Storage Tips
These keep for about two days in an airtight container though the pastry does lose some of its crispness. A quick ten minutes in a low oven brings back much of that fresh baked texture.
- Freeze unbaked pastries on a tray before transferring to a bag, bake straight from frozen adding five minutes
- The glaze does not freeze well so make it fresh when you are ready to serve
- Recovering the overnight keeps the edges from getting hard and dried out
 Save
Save There is nothing quite like pulling a tray of these from the oven and watching everyone gravitate toward the kitchen. Hope these bring some cozy moments to your table too.
Recipe FAQs
- → Can I make the dough ahead of time?
-
Yes, the dough benefits from extended chilling. You can prepare it up to 24 hours in advance and keep it wrapped in the refrigerator. The longer rest actually improves flavor development and makes rolling easier.
- → What other fruits work well in these pastries?
-
Blueberries, strawberries, blackberries, or sliced stone fruits like peaches all substitute beautifully. Adjust sugar slightly based on fruit sweetness—tart berries need more sugar while ripe peaches may need less.
- → How do I know when the Danishes are fully baked?
-
Look for deep golden brown edges and a set center that doesn't jiggle. The bottoms should sound hollow when tapped gently, and the cream cheese filling should appear matte rather than glossy or wet.
- → Can I freeze these for later?
-
Freeze unbaked assembled Danishes on a tray until firm, then transfer to a freezer bag for up to 3 weeks. Bake from frozen, adding 5-10 minutes to the baking time. Already baked ones freeze well too—just reheat gently before serving.
- → Why use sourdough discard instead of flour?
-
The discard adds subtle tang and complexity that balances sweet fillings. Its acidity also tenderizes the dough, creating a more delicate crumb. Plus, it reduces food waste from maintaining an active starter.
- → My dough seems too soft to work with. What should I do?
-
Return it to the refrigerator for 20-30 minutes to firm up. Working with cold dough is crucial—it prevents the butter from melting too quickly and helps maintain flaky layers. You can also dust your surface and rolling pin generously with flour.