 Save
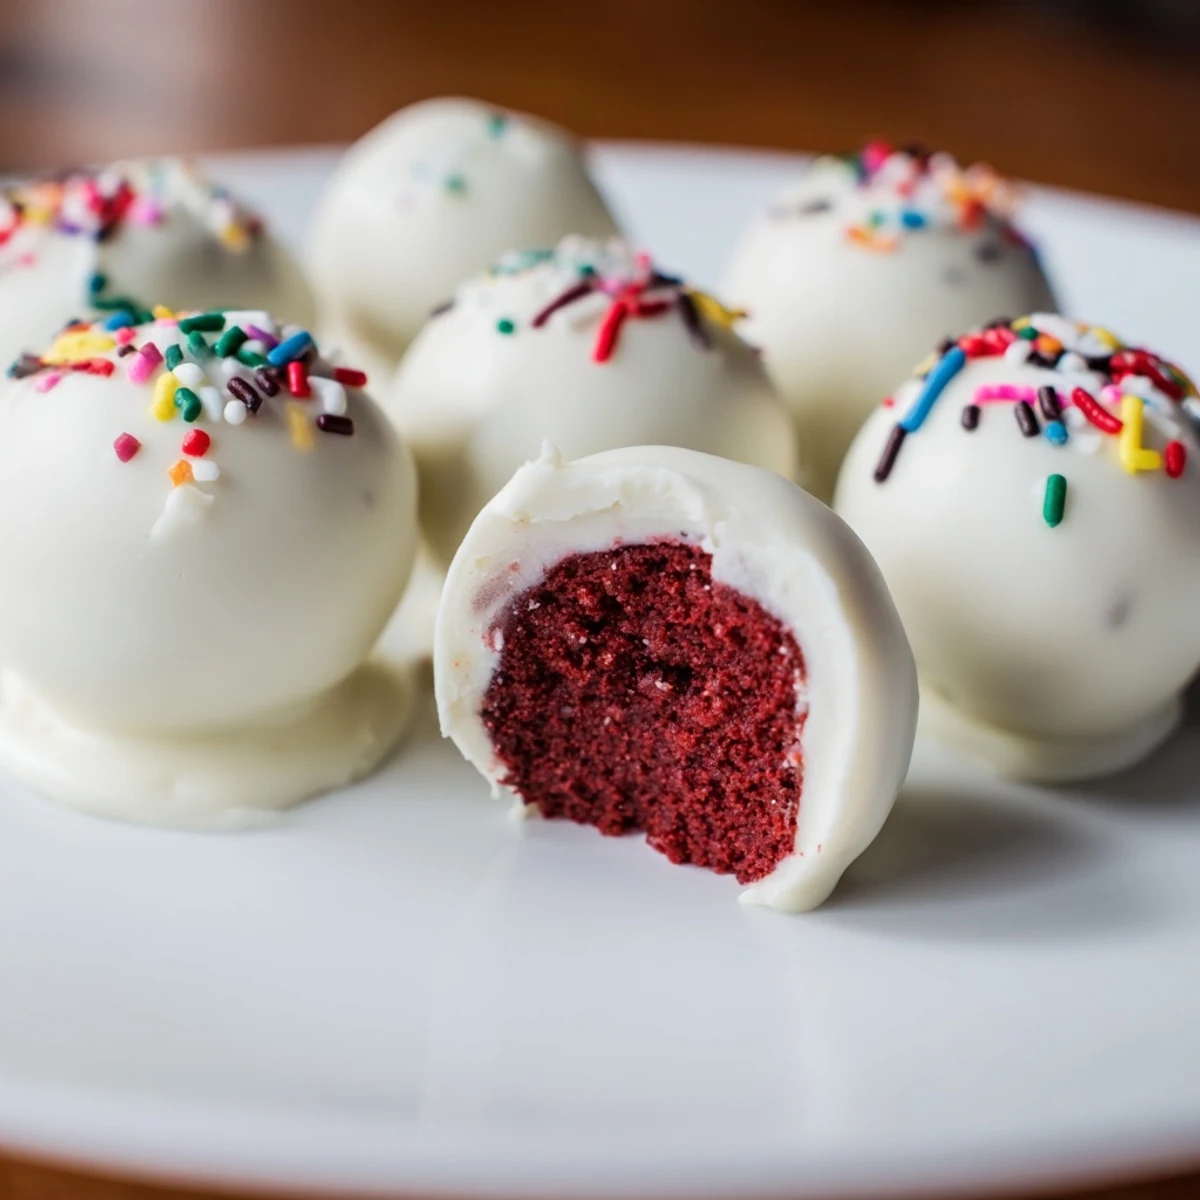
Save These red velvet cake pops combine moist, tender crumb with a luscious cream cheese frosting, rolled into bite-sized balls and coated in a smooth white chocolate shell. Ideal for celebrations, they offer a delightful balance of flavors and textures. The process involves baking the cake, crumbling it, mixing with frosting, shaping, chilling, dipping in melted white chocolate, and decorating. These pops deliver satisfying richness in a convenient, shareable form.
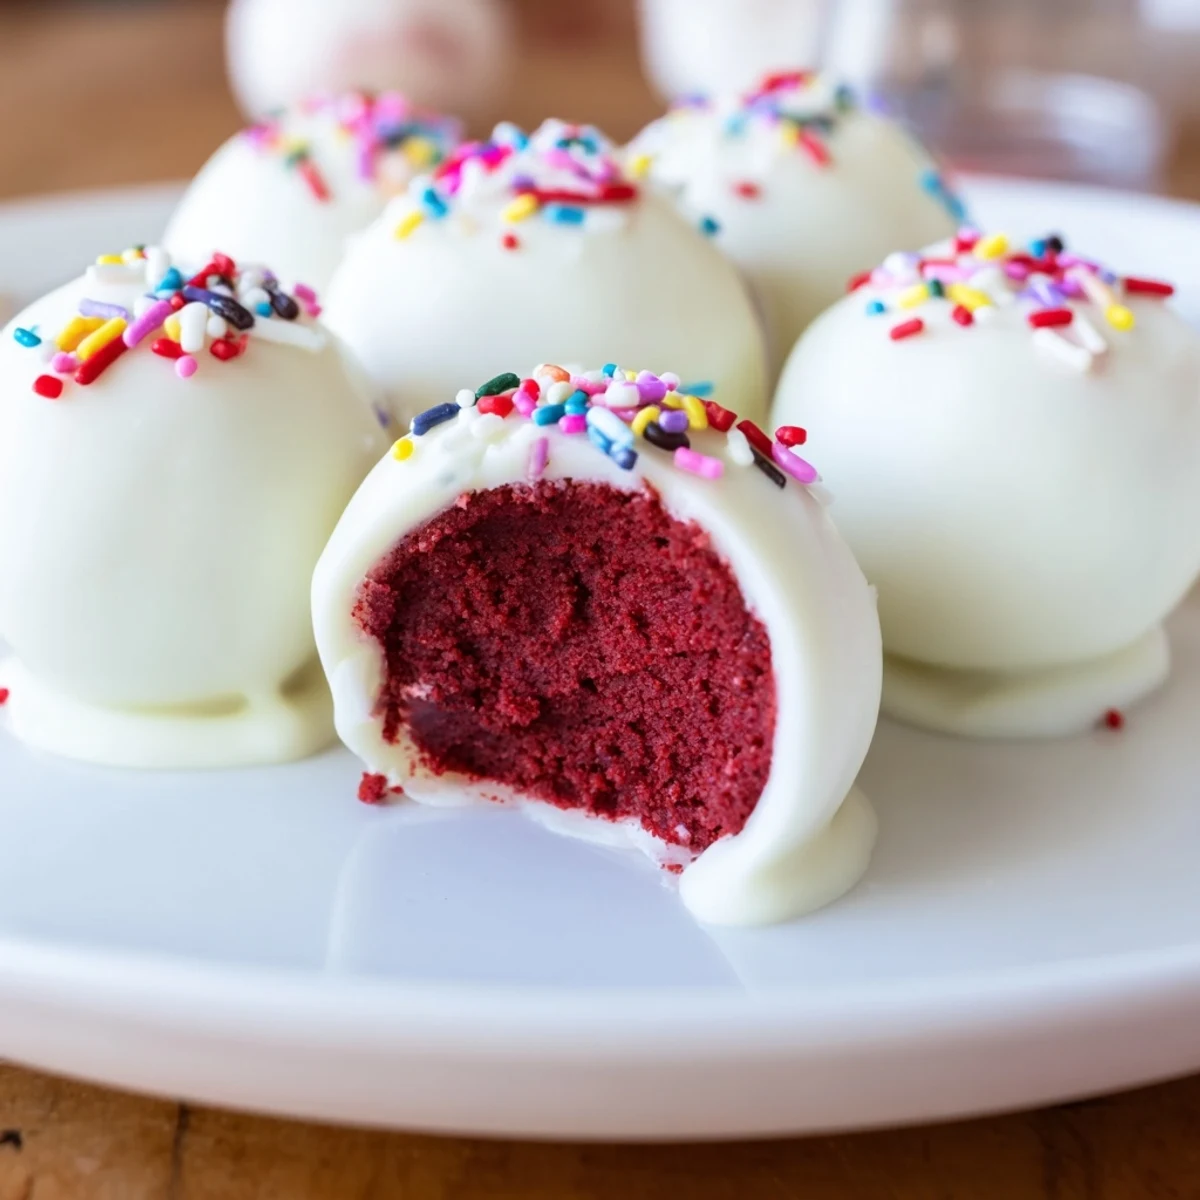
The first time I attempted cake pops, they ended up as cake truffles because I couldn't get the sticks to stay put. I stood there with melted chocolate dripping everywhere, laughing at my own stubbornness as these little red velvet spheres kept sliding off their wooden skewers like tiny rebellious planets breaking orbit.
My sister's wedding shower became an accidental cake pop laboratory after I insisted on making five dozen the night before. My kitchen counter looked like a crime scene of red crumbs and white chocolate splatters, but seeing the bridesmaids grab two or three each made every sticky moment worth it.
Ingredients
- Red velvet cake base: The buttermilk and vinegar create that signature tender crumb that practically melts into the frosting
- Cream cheese frosting: This acts as the binding agent, so don't reduce the amount or your balls will crumble
- White chocolate coating: Candy melts behave more predictably than real white chocolate, which can seize if you look at it wrong
Instructions
- Bake and cool your cake completely:
- Warm cake turns into mush instead of holding its shape, so patience here saves frustration later
- Transform cake into uniform crumbs:
- Use your hands to break down the cake into fine, even pieces with no large chunks remaining
- Mix in frosting gradually:
- Add frosting one spoonful at a time until the mixture holds together when pressed but still feels slightly dry to the touch
- Roll and chill thoroughly:
- Cold cake balls are much less likely to slide off sticks during dipping, so don't rush this hour in the refrigerator
- Master the dipping technique:
- Dip each stick tip into chocolate first, insert into balls, let set, then dip each pop with a smooth in-and-out motion
 Save
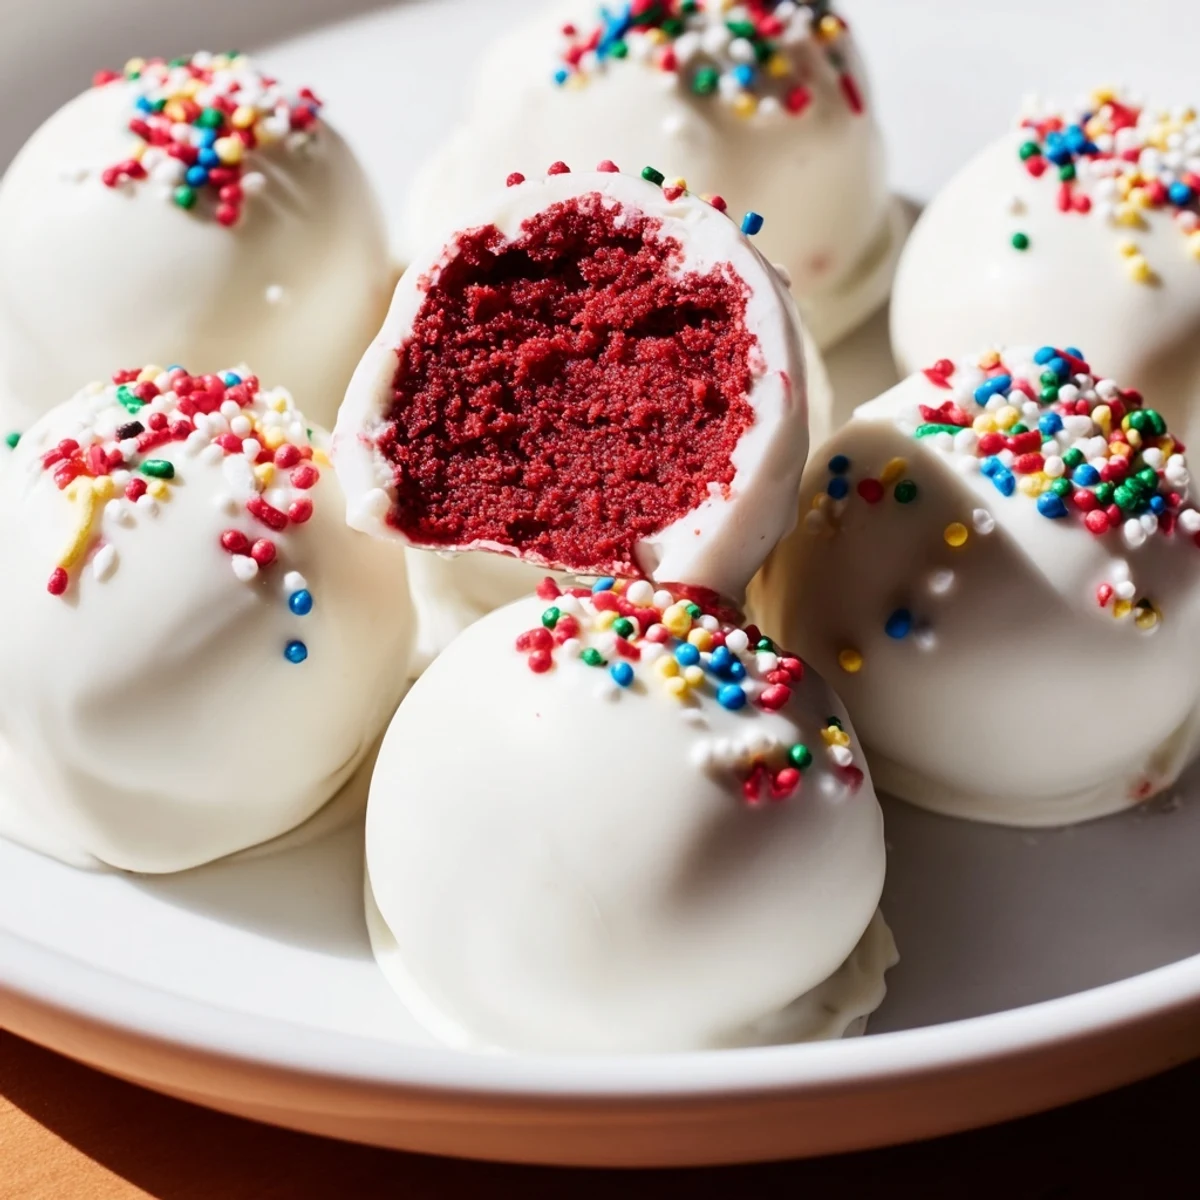
Save Now every time I see that vibrant red peeking through white chocolate, I remember standing in my kitchen at midnight, chocolate smeared on my cheek, refusing to give up on these tiny desserts that taught me that sometimes perfection requires a little beautiful mess.
Getting That Perfect Shape
I've learned that rolling balls between slightly damp palms prevents the mixture from sticking while giving you that professional smooth surface. Press gently but firmly enough that they hold together without compacting the crumbs too tightly.
Chocolate Temperature Secrets
Your dipping chocolate should be warm enough to flow easily but cool enough to set quickly on the chilled cake. If it's too hot, it will slide right off and pool at the bottom, leaving your cake balls half-dressed and awkward.
Common Cake Pop Disasters
Everyone has experienced the tragic cake pop slide or the coating that cracks like a dry riverbed. These usually come down to temperature differences between your cake centers and coating chocolate.
- Work in small batches so your chocolate stays at optimal temperature
- Tap the stick gently against the bowl edge to remove excess chocolate
- Have a clean surface ready for any that need redecorating
 Save
Save These little red velvet jewels on sticks have become my go-to for moments when I want to bring something special without committing to a full cake. There's something deeply satisfying about handing someone their own personal portion of joy.
Recipe FAQs
- → How do I ensure the cake pops hold together?
-
Mix the crumbled cake thoroughly with cream cheese frosting until the texture resembles damp sand and holds firmly when pressed.
- → Can I use candy melts instead of white chocolate?
-
Candy melts are a good alternative as they set faster and crack less, making dipping easier and cleaner.
- → What is the chilling time before dipping?
-
Chill the shaped cake balls for at least 1 hour in the refrigerator or 20 minutes in the freezer for best results.
- → How should I store these treats after making?
-
Store in an airtight container in the fridge to maintain freshness for up to 5 days.
- → Can I add flavor variations to these bites?
-
Try adding cinnamon or orange zest to the cake batter for an extra layer of flavor.
- → What tools are essential to make these cake pops?
-
An 8-inch cake pan, mixing bowls, electric mixer, parchment paper, microwave-safe bowl, and cake pop sticks are key tools.