 Save
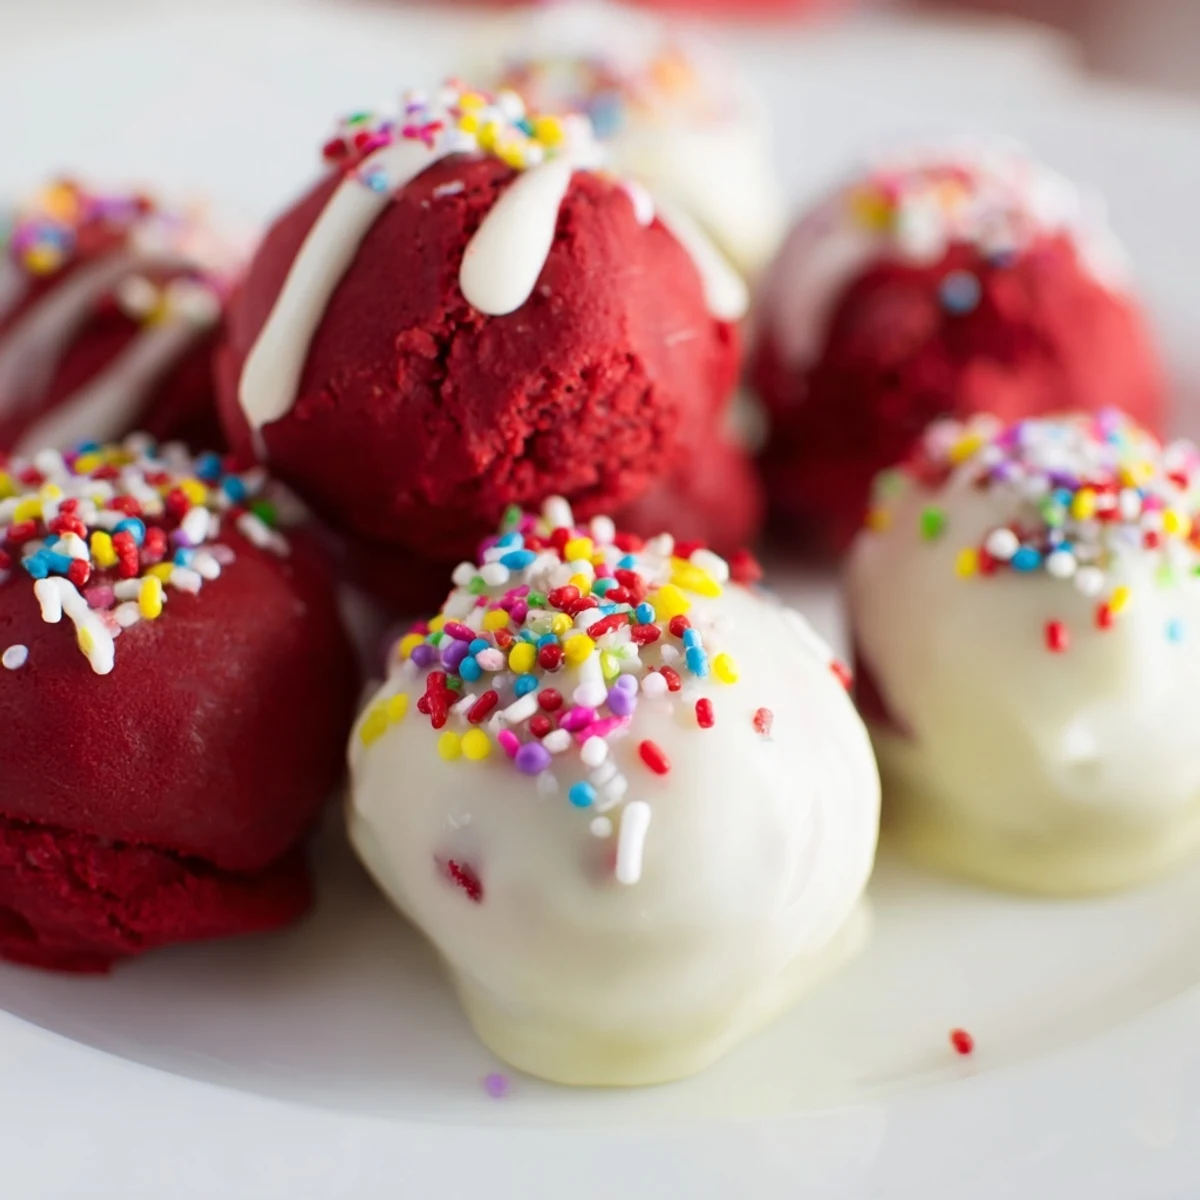
Save These vibrant bite-sized balls feature moist red velvet blended seamlessly with cream cheese frosting. After chilling, each piece is generously coated in smooth white chocolate, creating a perfect balance between rich cake and creamy coating. Ideal for parties or gifting, the cake pops combine delicate texture with a sweet finish. Easy to assemble with simple ingredients and quick preparation, they add a festive flair to any occasion.
The counter was covered in red crumbs, my hands stained pink from kneading cake and frosting together, when my roommate walked in and asked if I'd been finger-painting. I held up a perfectly round cake ball like a prize. That afternoon of trial and error taught me that cake pops are equal parts mess and magic, but watching someone bite through that crisp white chocolate shell into moist red velvet makes every sticky moment worth it.
I made fifty of these for my sister's baby shower, arranging them in a flower box centerpiece that everyone mistook for professional catering. When guests realized they were homemade, suddenly I was fielding requests for birthday favors, wedding desserts, and holiday gifts. Now I keep a stash in the freezer for those moments when I need to show up with something that says "I put actual effort into this."
Ingredients
- 1 1/4 cups all-purpose flour: The foundation that gives structure without making these dense little hockey pucks
- 1/4 cup unsweetened cocoa powder: Just enough to add depth without overpowering that classic red velvet flavor
- 1/2 tsp baking soda: Helps the cake rise properly so your pops aren't leaden disappointments
- 1/4 tsp salt: Balances sweetness and brings out the chocolate notes
- 1/2 cup unsalted butter: Room temperature is non-negotiable here for proper creaming
- 1 cup granulated sugar: Creates that tender crumb we love in red velvet
- 2 large eggs: Bind everything together and add richness
- 1/2 cup buttermilk: The secret ingredient that makes red velvet so moist and tangy
- 1 tsp vanilla extract: Pure vanilla makes all the difference in the final flavor
- 1 tsp white vinegar: Reacts with baking soda for extra tenderness
- 1 tbsp red food coloring: Gel coloring gives you that vibrant red without adding liquid
- 4 oz cream cheese: Full-fat and softened creates the silkiest frosting
- 2 tbsp unsalted butter: Adds structure to the cream cheese frosting
- 1 1/2 cups powdered sugar: Sweetens and thickens the frosting to the right consistency
- 16 oz white chocolate: Candy melts are easier to work with than real white chocolate for coating
- 1 tbsp vegetable oil: Thins the chocolate just enough for smooth dipping
- Sprinkles: Fun but optional decorations add festive flair
- 24 cake pop sticks: Lollipop sticks work perfectly for holding and serving
Instructions
- Preheat your oven with intention:
- 350°F is your sweet spot for an even bake that won't dry out your cake
- Whisk the dry team together:
- Flour, cocoa, baking soda, and salt need to be well combined before they meet the wet ingredients
- Cream butter and sugar until pale:
- This takes about 3 minutes and creates tiny air pockets that make your cake lighter
- Add eggs one at a time:
- Letting each egg fully incorporate prevents the mixture from curdling
- Pour in the liquids:
- Buttermilk, vanilla, vinegar, and that shocking red food coloring create your batter
- Fold in dry ingredients gently:
- Over-mixing leads to tough cake, so stop as soon as you see no more flour streaks
- Bake until perfectly set:
- 25 to 30 minutes should do it, but trust your toothpick test over the timer
- Let the cake cool completely:
- This is crucial, warm cake will melt your frosting and create a sticky disaster
- Make the frosting while waiting:
- Beat cream cheese and butter until no lumps remain, then add powdered sugar and vanilla
- Crumble and combine:
- Break cake into fine crumbs, mix in frosting until you can form balls that hold their shape
- Chill the cake balls:
- 30 minutes in the freezer firms them up so they don't fall off their sticks during dipping
- Melt your white chocolate:
- Microwave in 30-second bursts or use a double boiler for the smoothest consistency
- Dip and insert:
- Coat stick tips in chocolate before pushing into cake balls for extra security
- Dip with confidence:
- Submerge each ball, tap gently to remove excess, and decorate immediately
- Let them set completely:
- Stand them in foam or a dedicated stand until the chocolate hardens
 Save
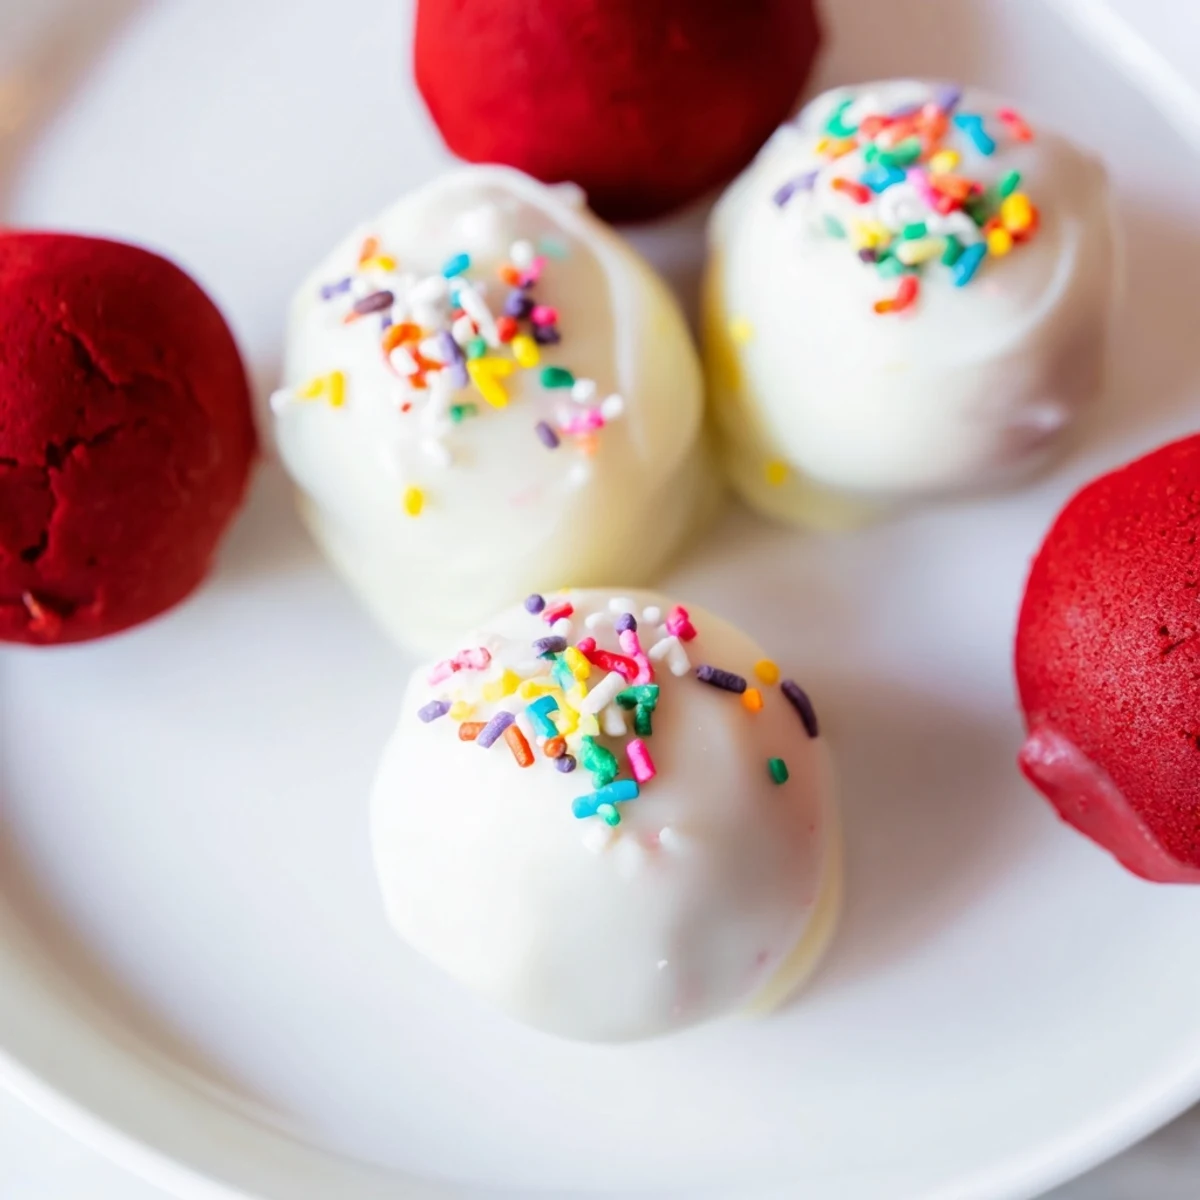
Save My niece's eyes lit up when she saw the display at her birthday party, but what really got me was watching her grandfather carefully take two, claiming one for "later" and then eating both within five minutes. These little treats have a way of bringing out the kid in everyone, regardless of age.
Making Them Ahead
You can prepare the cake balls up to a week before dipping and store them in the freezer. Just let them thaw in the refrigerator for an hour before coating, and they'll be ready for your party without any last-minute panic.
Troubleshooting Common Issues
If your cake keeps sliding off the stick, the chocolate seal wasn't strong enough, or the balls weren't cold enough. When coating gets too thick, never add water or milk, just a touch more oil. These small adjustments make all the difference between frustration and success.
Storage And Serving Suggestions
Keep finished cake pops in an airtight container in the refrigerator for up to five days, though they rarely last that long. For gifting, wrap each pop individually in clear bags tied with ribbon.
- Bring to room temperature 15 minutes before serving for the best texture
- Stand them in a decorated styrofoam block for a stunning centerpiece
- Consider flavor variations like dark chocolate coating or funfetti cake base
 Save
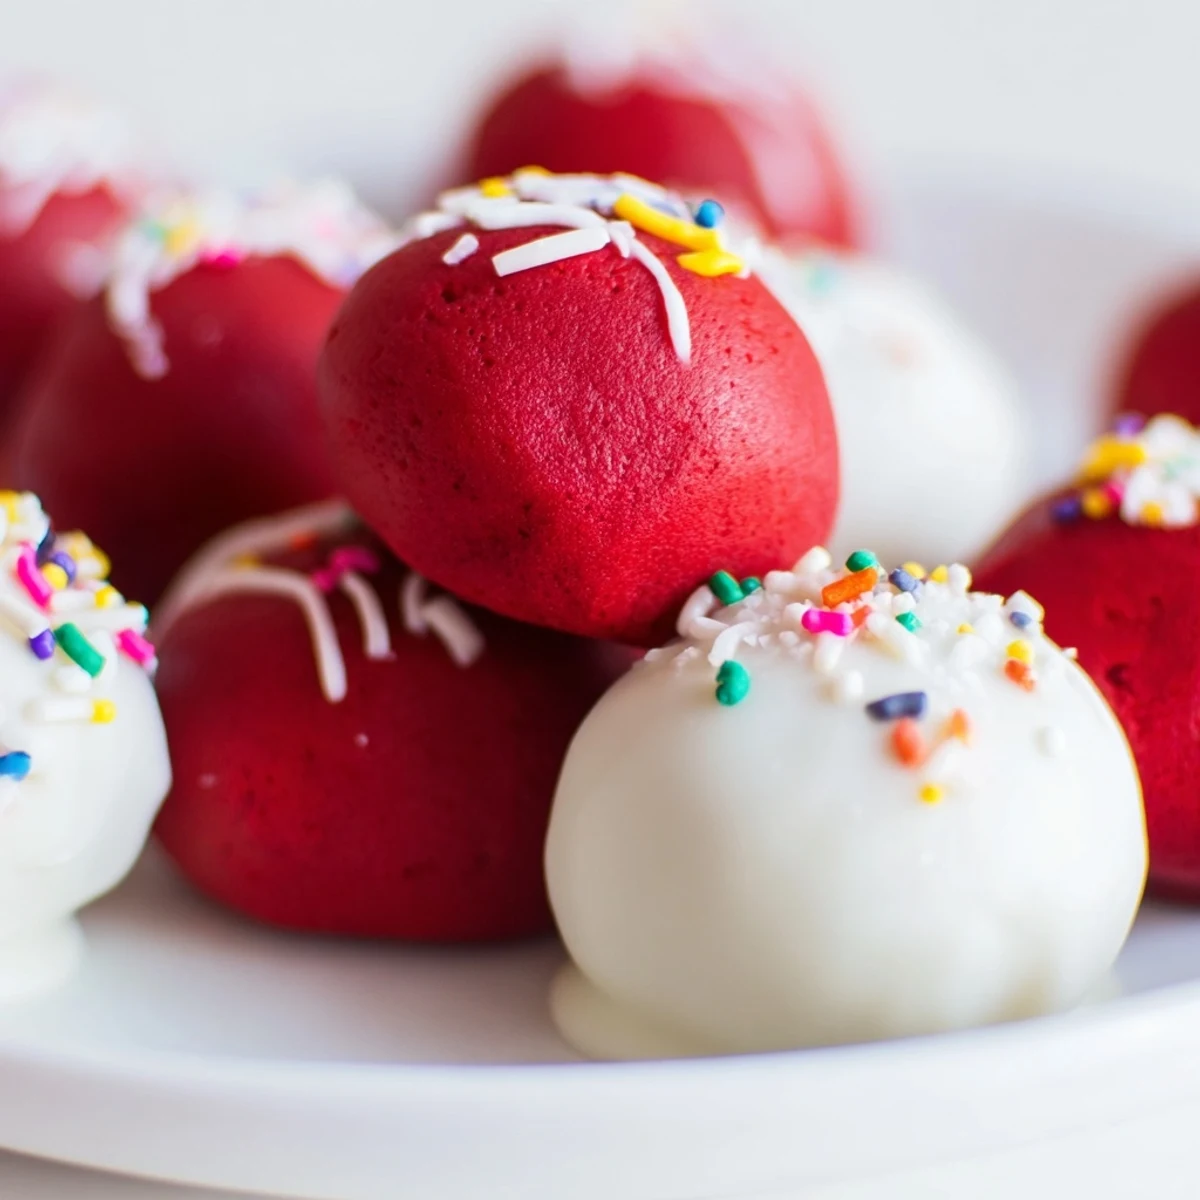
Save Theres something genuinely satisfying about holding a perfectly round, glossy cake pop you created from scratch. Share them with people you love, or keep them all to yourself, I wont judge.
Recipe FAQs
- → What is the best way to achieve moist cake pops?
-
Using a combination of buttermilk and cream cheese frosting ensures a soft, moist texture that holds well when shaped into balls.
- → How do I prevent white chocolate from cracking on the coating?
-
Melting white chocolate slowly over a double boiler or in short microwave bursts helps maintain smoothness and prevents cracking once set.
- → Can I decorate the cake pops for themes or occasions?
-
Yes, edible sprinkles or colored white chocolate can add festive touches to suit any event.
- → How long should the cake balls chill before coating?
-
Chilling the formed balls for at least 30 minutes firms them up, making the coating process easier and cleaner.
- → What tools are essential for assembling these treats?
-
Mixing bowls, a mixer, cake pan, wire rack, parchment paper, and sticks are key for smooth preparation and presentation.