 Save
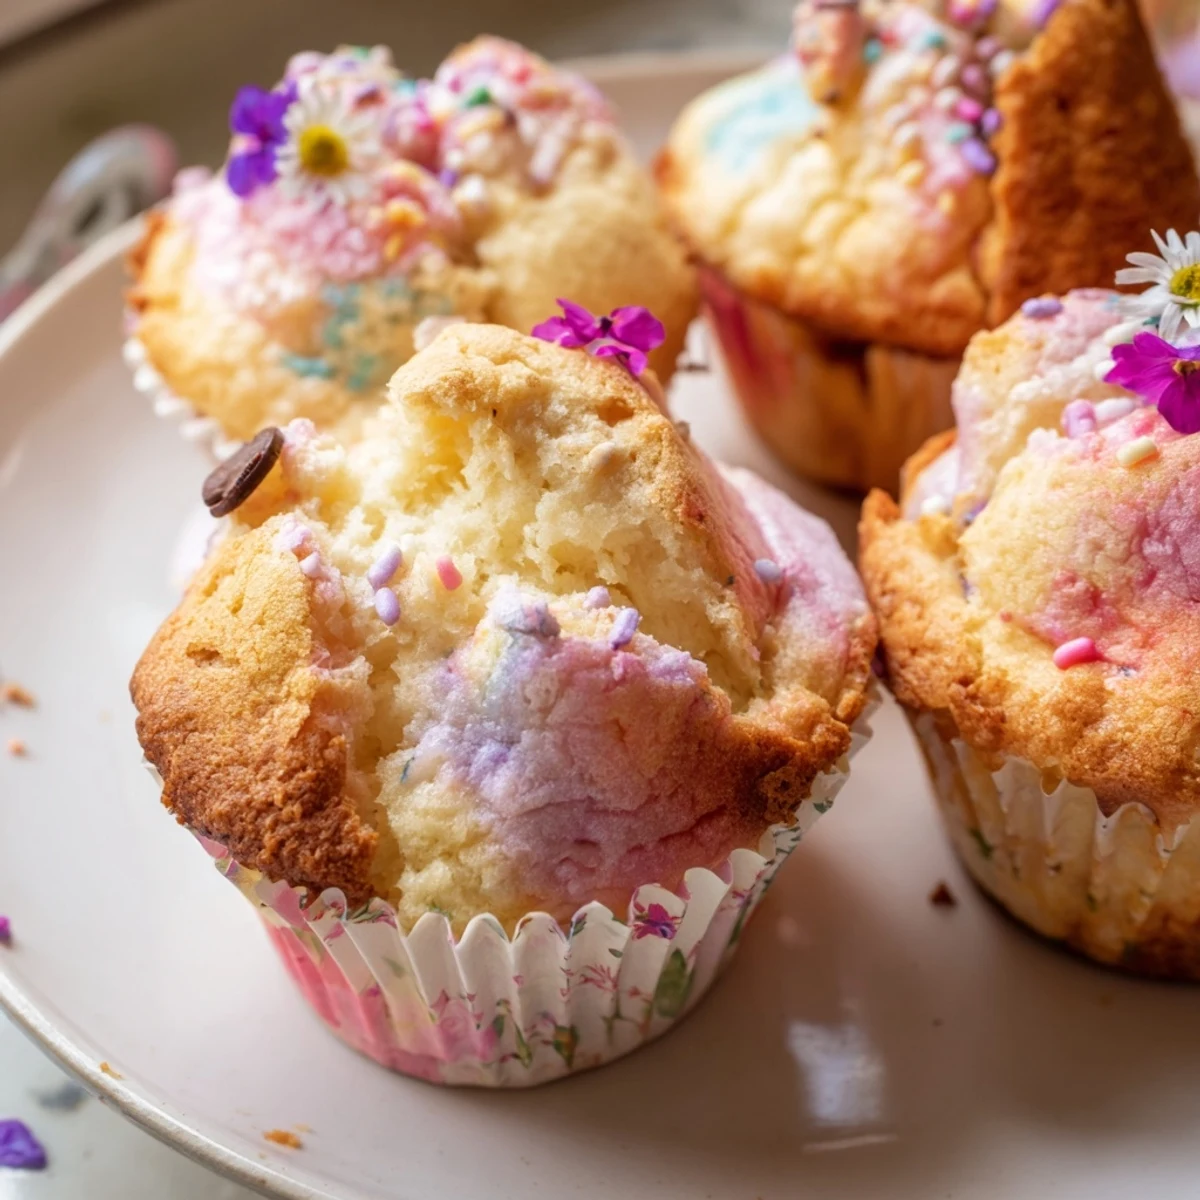
Save These delicate cupcakes rise beautifully when steamed, creating a stunning cracked open top that resembles a blooming flower. The method produces exceptionally moist, tender treats that are lighter than traditional baked versions. Using common pantry staples, you can have these ready in under 40 minutes.
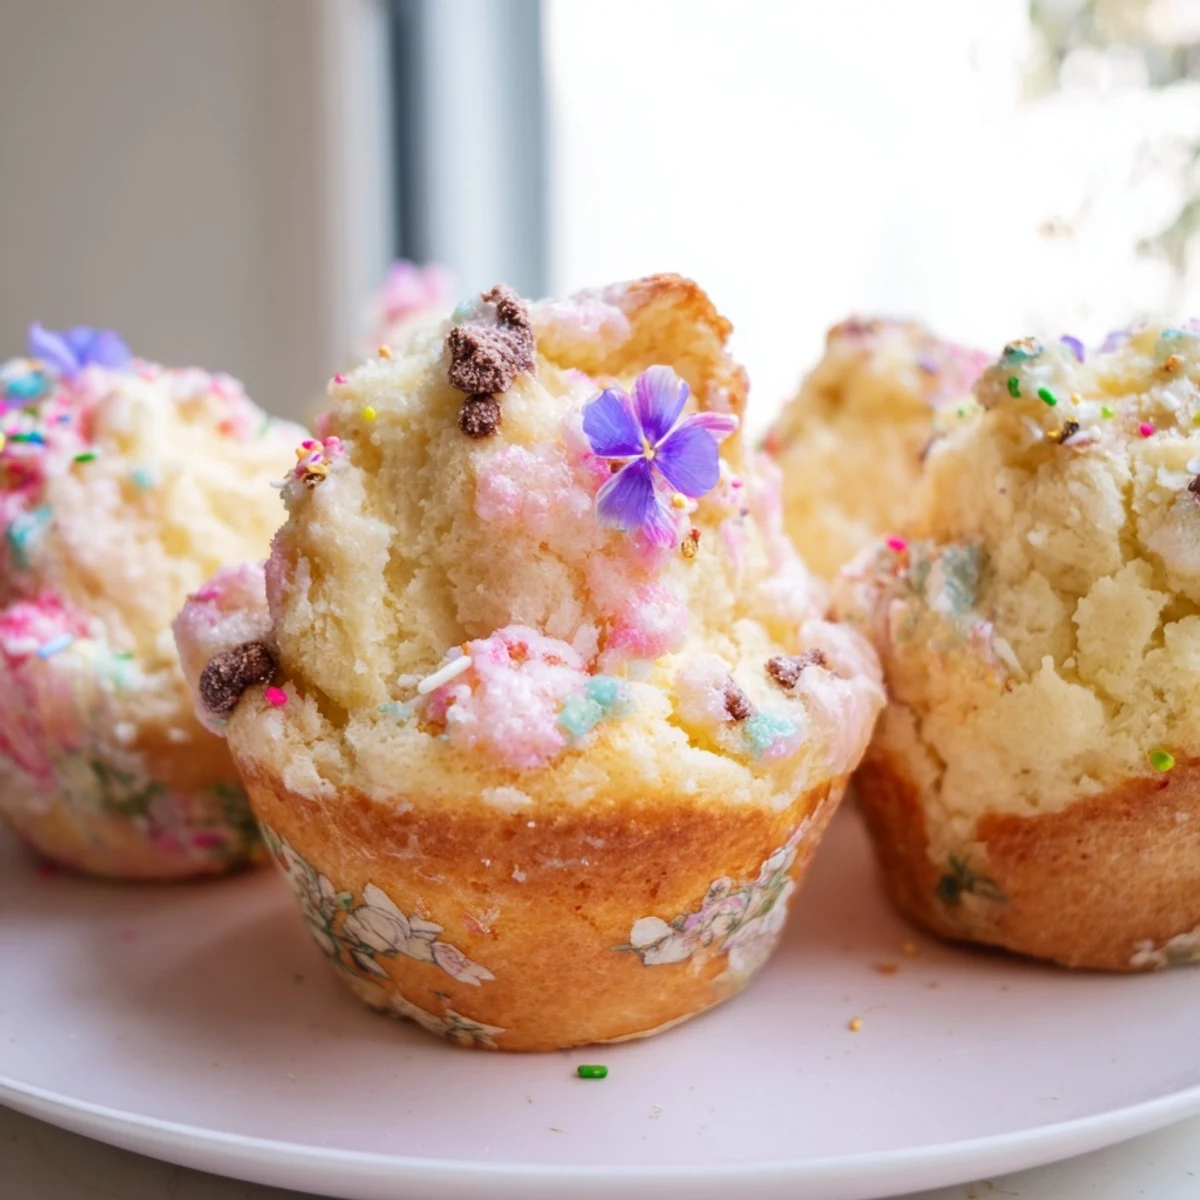
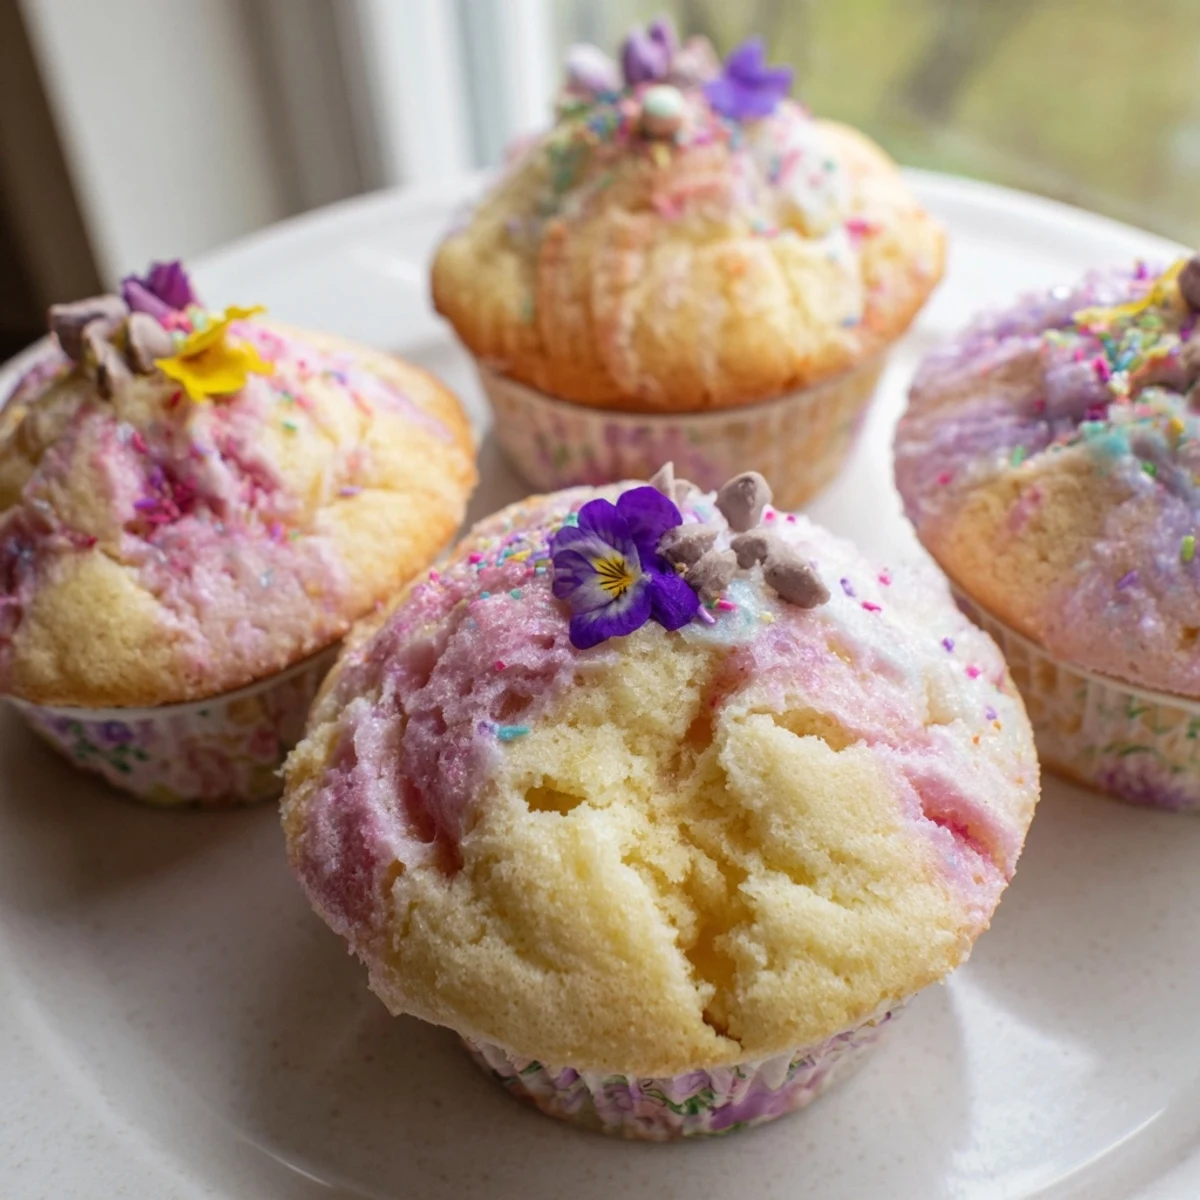
The steam technique creates a unique texture—denser than sponge but incredibly soft. The signature blooming effect happens naturally as steam escapes during cooking, leaving an attractive crackled surface perfect for catching decorations.
My tiny apartment kitchen didnt have an oven for the first two years I lived there, but that limitation became an unexpected gift. One rainy afternoon, craving something sweet and comforting, I decided to try steaming cupcakes like my grandmother used to make her traditional Asian sponge cakes. The moment I lifted that steamer lid and saw those gorgeous cracked tops blooming upward, I knew Id stumbled upon something magical that didnt need fancy equipment at all.
I brought a batch to my neighbors potluck dinner last month, carefully arranging them on a vintage cake stand with tiny edible flowers tucked into the cracks. Everyone kept asking which fancy bakery Id visited, and their faces lit up when I explained they were made in a simple steamer on the stove. Now my neighbor messages me weekly asking for the recipe because her daughter cant stop talking about the rainbow ones I made for her birthday.
Ingredients
- 1¾ cups (220 g) all-purpose flour: The foundation of our tender crumb, scoop and level gently to avoid packing it down
- 1 tsp baking powder: This gentle leavener works with the steam to create those signature blooming cracks
- ½ tsp baking soda: Partners beautifully with the acid in your milk for extra lift
- ⅛ tsp salt: Just enough to make the vanilla sing without tasting salty
- ¾ cup (150 g) granulated sugar: Sweetens and tenderizes while creating that lovely golden crust
- 2 large eggs, room temperature: Bring these to room temp for maximum volume and a fluffy texture
- ½ cup (120 ml) whole milk: Adds richness and helps create that bakery-style moisture
- ⅓ cup (80 ml) melted unsalted butter: Butter gives unbeatable flavor, though neutral oil works for an even moister crumb
- 1 tsp vanilla extract: Pure extract makes all the difference in a simple recipe like this
- Food coloring: Gel colors work best for vibrant layers without adding extra liquid
- Sprinkles or edible flowers: The perfect finishing touch that makes everyone smile
Instructions
- Setting Up Your Steamer Station:
- Fill your steamer with water and bring it to a gentle simmer while you line cupcake molds with paper liners, making sure theres enough water for 15 minutes of steaming without needing to refill.
- Whisking the Dry Foundation:
- In a medium bowl, whisk together flour, baking powder, baking soda, and salt until everything is evenly distributed.
- Creating the Wet Mixture:
- Beat eggs and sugar in a large bowl until pale and slightly thickened, then whisk in milk, melted butter, and vanilla until smooth.
- The Gentle Fold:
- Gently fold dry ingredients into the wet mixture in three additions, stopping when just a few streaks of flour remain to keep these cupcakes tender.
- Adding the Magic Colors:
- Divide batter and fold in food coloring if desired, then layer or swirl the colored batters for that stunning blooming effect.
- Filling the Cups:
- Spoon batter into prepared molds, filling each about three-quarters full to give them room to bloom upward.
- The Steaming Secret:
- Place molds in the steamer with space between them, covering the lid with a clean cloth to catch condensation drops.
- Watching the Bloom:
- Steam over medium heat for 12 to 15 minutes until a toothpick comes out clean and the tops have cracked open beautifully.
- The Final Touch:
- Let cool for just 5 minutes before decorating with sprinkles, edible flowers, or chocolate chips while theyre still slightly warm.
 Save
Save Last week my daughter surprised me by making these entirely on her own while I was on a work call. She carefully dotted the tops with fresh violets from our garden and presented them to me with such pride on a small painted plate, insisting they were better than any bakery cupcake because we made them together in our tiny kitchen.
Mastering the Blooming Effect
The crackly blooming tops happen naturally as steam escapes from the batter during cooking, creating those beautiful rustic cracks. Thicker batter and proper steam circulation are key, so dont add too much liquid and make sure your steamer isnt overcrowded.
Customizing Your Flavors
Try adding citrus zest, almond extract, or even a tablespoon of cocoa powder to create different flavor profiles. Natural food colorings like matcha powder or beet juice not only look stunning but add subtle flavor too.
Storage and Serving Suggestions
These cupcakes stay perfectly moist for up to three days when stored in an airtight container at room temperature, though they rarely last that long in my house. Serve them slightly warmed for the ultimate comfort experience, with the steam still rising from the tender crumb.
- Wrap individually in plastic wrap for easy lunchbox treats
- Freeze undecorated cupcakes for up to a month and thaw at room temperature
- Refrigerate decorated ones if using cream cheese frosting or fresh fruit toppings
 Save
Save Theres something so satisfying about creating something beautiful from the simplest methods and ingredients. May your kitchen always be filled with steam, sweetness, and the joy of sharing something homemade with people you love.
Recipe FAQs
- → Why do these cupcakes crack open on top?
-
The blooming effect occurs as steam escapes rapidly during cooking, causing the surface to split attractively. This natural crack creates the signature appearance and indicates proper steaming.
- → Can I use bamboo steamers instead of metal pots?
-
Yes, bamboo steamers work beautifully for these treats. Just ensure the steamer basket sits securely above simmering water and has a tight-fitting lid to trap steam effectively.
- → How do I know when they're fully cooked?
-
Insert a toothpick into the center—it should come out clean or with just a few moist crumbs. The tops should be set and have the characteristic blooming crack.
- → Why cover the steamer lid with a cloth?
-
The cloth prevents condensation from dripping back onto the cupcakes, which would make them soggy and prevent proper rising. This simple step ensures light, fluffy results.
- → Can I make these without food coloring?
-
Absolutely. The plain version bakes up golden and delicious. You can also add natural color through ingredients like matcha powder, cocoa, or fruit purees.