 Save
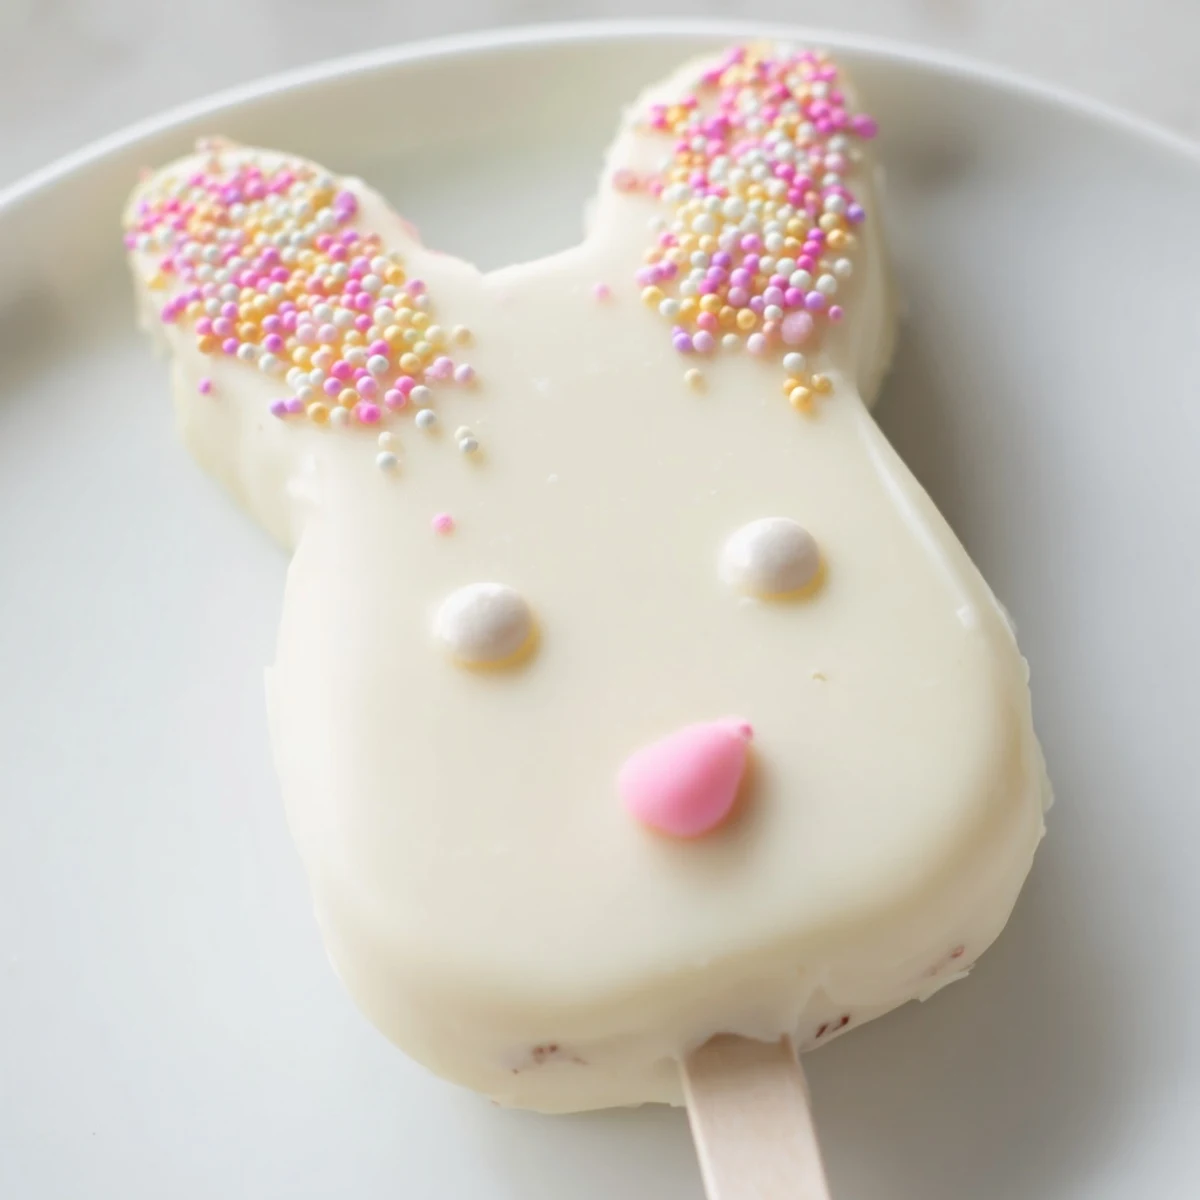
Save These charming bunny-shaped cakesicles combine moist vanilla cake centers with smooth white chocolate coating, creating adorable handheld desserts perfect for Easter gatherings. The process involves mixing cake crumbs with cream cheese and butter, shaping them into bunny faces, then dipping in melted white chocolate and decorating with edible embellishments.
Each cakesicle takes about an hour from start to finish and yields eight servings, making them ideal for spring parties, family celebrations, or as a fun weekend baking project with children.
Last Easter, my niece decided we needed something more exciting than regular cupcakes and suggested bunny shaped cakesicles. We spent a rainy Sunday afternoon covered in white chocolate and sprinkles, laughing when our first attempts looked more like lopsided rabbits than adorable bunnies. Now it is become our silly tradition that the kids actually look forward to more than the egg hunt.
I made these for my daughters classroom party and watched three second graders argue over who got the bunny with pink sprinkled ears. The teacher later told me they were the most requested snack for the rest of the school year.
Ingredients
- Vanilla cake crumbs: Homemade or store bought both work perfectly but make sure they are fine crumbs for smooth shaping
- Cream cheese: Room temperature is non negotiable here or you will get lumps that refuse to blend
- Unsalted butter: Softened butter helps bind everything without making the mixture too sticky
- Powdered sugar: Adds just enough sweetness to balance the cream cheese tang
- Vanilla extract: Pure vanilla makes a noticeable difference in the final flavor
- White chocolate: Candy melts melt more smoothly than baking bars for coating
- Edible gel food coloring: Gel colors work better than liquid for painting on set chocolate
- Cakesicle sticks: Insert these before chilling or the cake pop might crack
- Sprinkles and decorations: Have everything ready before dipping because the chocolate sets fast
Instructions
- Mix the cake pop dough:
- Combine all the cake ingredients in a medium bowl until you have a mixture that holds together when squeezed but is not overly sticky
- Shape your bunnies:
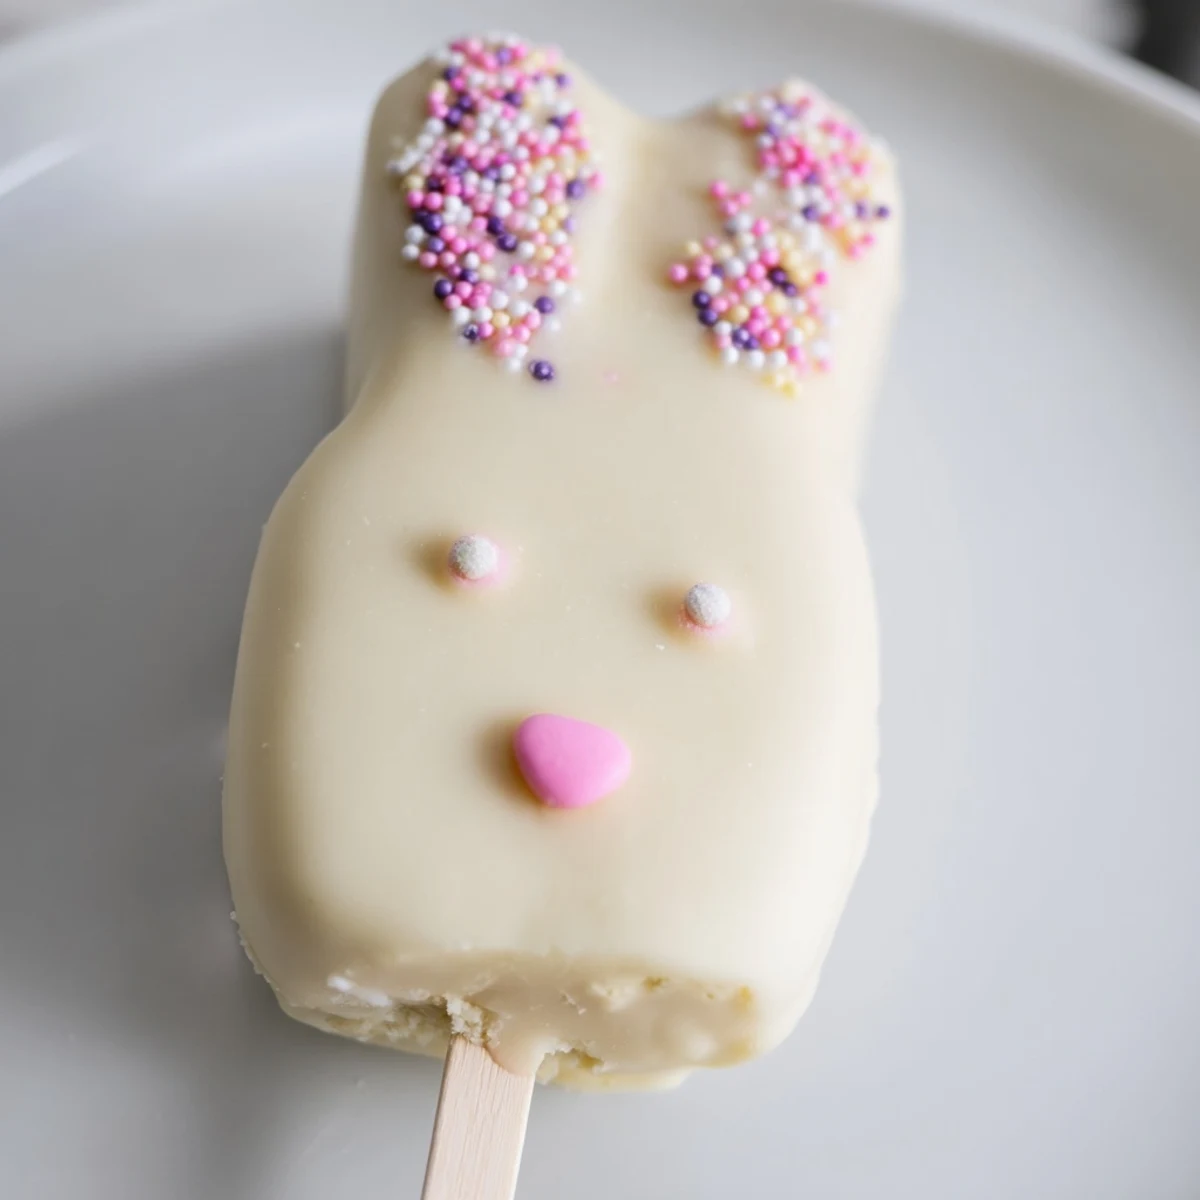
- Divide into eight portions and form flattened oval shapes that sort of resemble bunny faces
- Add the sticks:
- Gently push a cakesicle stick into each shape about halfway through and place them on a parchment lined tray
- Chill until firm:
- Refrigerate for twenty to thirty minutes because cold cake pops dip much better than room temperature ones
- Melt the coating:
- Heat white chocolate in thirty second bursts in the microwave and stir between each until completely smooth
- Dip each bunny:
- Hold the stick and lower each cake pop into the chocolate then tap gently against the bowl edge to remove excess
- Decorate immediately:
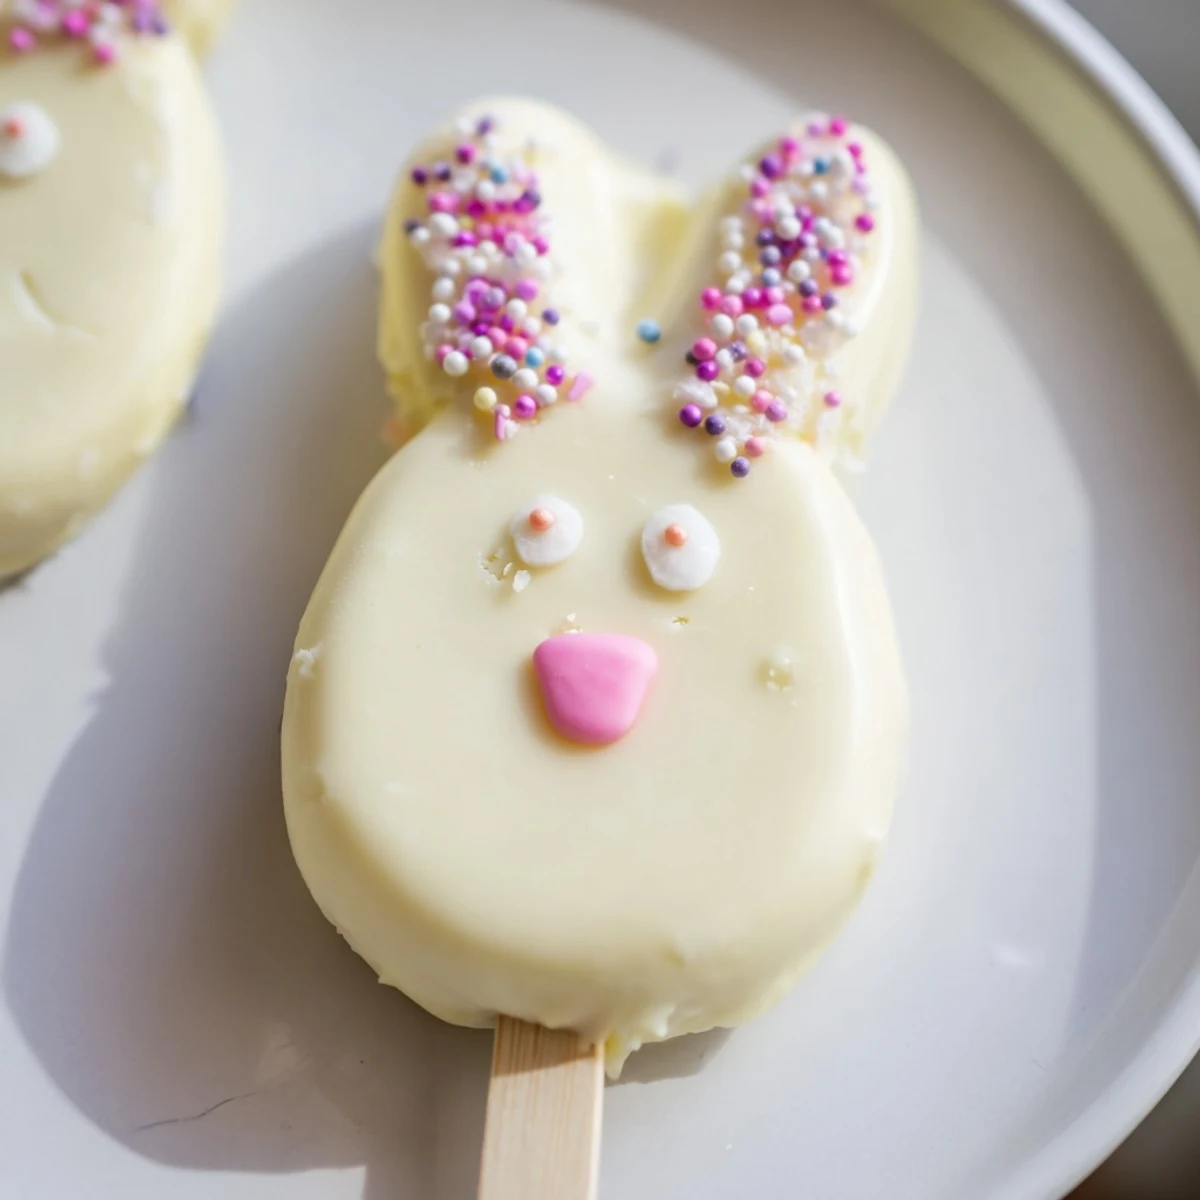
- Add candy eyes sprinkles or fondant ears right after dipping while the chocolate is still tacky
- Set and serve:
- Let them harden at room temperature or pop them in the fridge for ten minutes if you are in a hurry
 Save
Save My dad accidentally made one with three ears and the kids decided that was the special prize bunny. Sometimes the mistakes are the ones that get the most attention.
Getting Creative With Shapes
We have tried making eggs chicks and even little carrots using the same dough mixture. The bunny shape works best because the flattened oval gives you a nice canvas for faces.
Making Them Ahead
You can form and chill the uncoated cake pops up to two days before dipping them. Just wrap the tray tightly with plastic wrap so they do not absorb fridge flavors.
Decoration Ideas That Work
Pretzel sticks make adorable whiskers and pink fondant ears are easier than they look. Keep a damp paper towel handy for wiping chocolate off your fingers between decorations.
- Candy eyes work better than trying to paint them on
- Sprinkles stick best if you tap them gently with your finger
- Let the chocolate set completely before packaging or stacking
 Save
Save These bunny cakesicles have become the most requested Easter treat in our house. Hope they bring some hoppy fun to your celebration too.
Recipe FAQs
- → How long do white chocolate bunny cakesicles stay fresh?
-
Store your cakesicles in an airtight container in the refrigerator for up to 3 days. The cool temperature helps maintain the white chocolate coating's texture and keeps the cake center moist.
- → Can I use different cake flavors instead of vanilla?
-
Absolutely! Chocolate, lemon, red velvet, or funfetti cake crumbs work wonderfully. The neutral white chocolate coating complements various cake flavors, allowing you to customize based on preference.
- → Do I need a special mold to make bunny-shaped cakesicles?
-
While molds help create uniform shapes, they're not essential. You can hand-shape the cake mixture into flattened ovals and use fondant, candy, or food coloring pens to create bunny features. Free-form shapes add rustic charm!
- → What's the best way to melt white chocolate for coating?
-
Melt white chocolate in a microwave-safe bowl using 30-second intervals, stirring between each burst. This prevents scorching. For smoother results, add a teaspoon of coconut oil or vegetable shortening to thin the consistency.
- → Can I make these ahead of time for an Easter party?
-
Yes! Prepare and decorate the cakesicles 1-2 days in advance. Store them layered between parchment paper in an airtight container in the refrigerator. Let them come to room temperature for 10 minutes before serving for optimal flavor and texture.
- → What decorations work best for bunny faces?
-
Candy eyes, edible sprinkles, fondant cutouts for ears and noses, and food coloring gel pens all create charming bunny expressions. Pretzel sticks or modeling chocolate also make excellent ear decorations.